

 Español
 中文
 العربية
III. - 🐧 Install Debian Linux 13
This guide walks you through installation of the Debian OS on your ggRock server.
The installation of Debian 13 (codename Trixie) is performed using a graphical installer that walks you through language, time zone, networking, disk setup, and more. Debian 13 is 64-bit only — 32-bit (i386) servers are no longer supported and must stay on Debian 12.
✅ Before You Start
Five minutes here saves an hour later. Confirm all four before booting the installer.
| Check | What you need |
|---|---|
| BIOS | UEFI boot mode, Secure Boot disabled. Use Legacy mode only if the OS is going onto a RAID array. |
| USB | A Debian 13 amd64 netinst USB written with Rufus in DD image mode (see Guide II). |
| Network | A wired cable in the port you intend to use, on a network with DHCP and internet access. The netinst image downloads packages during install. |
| Disks | Know which drive is your OS disk (usually the smallest). Array drives must not be selected in disk setup. |
🧭 Getting Started
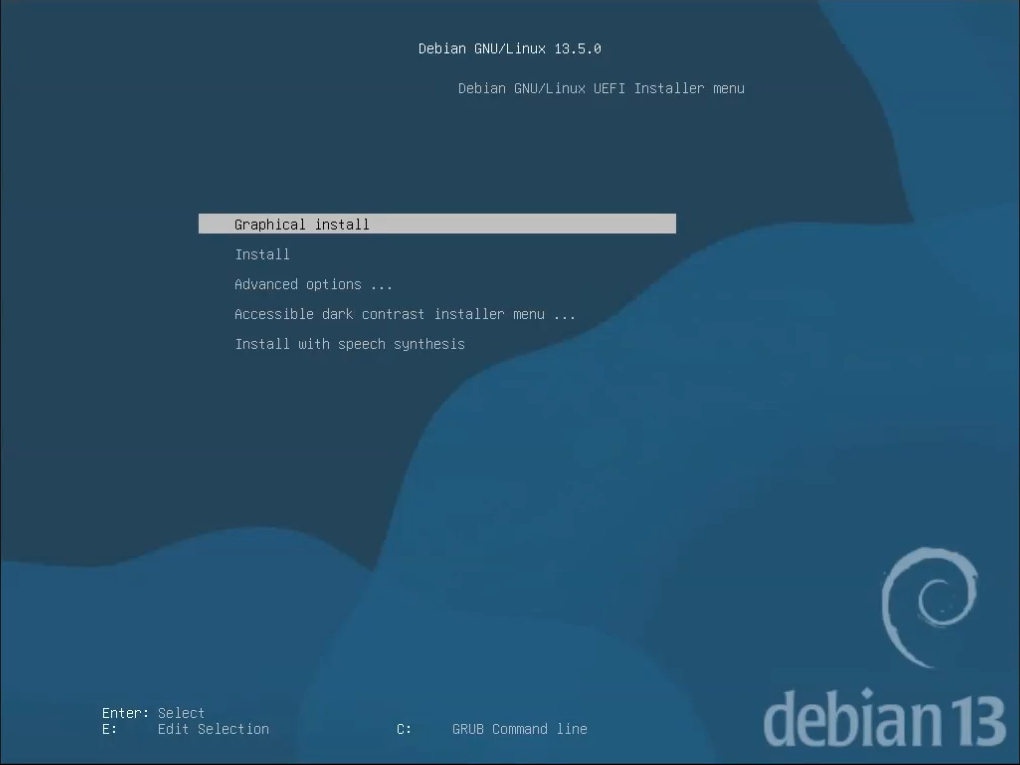
Step 1. Installation Options
- Select Graphical install
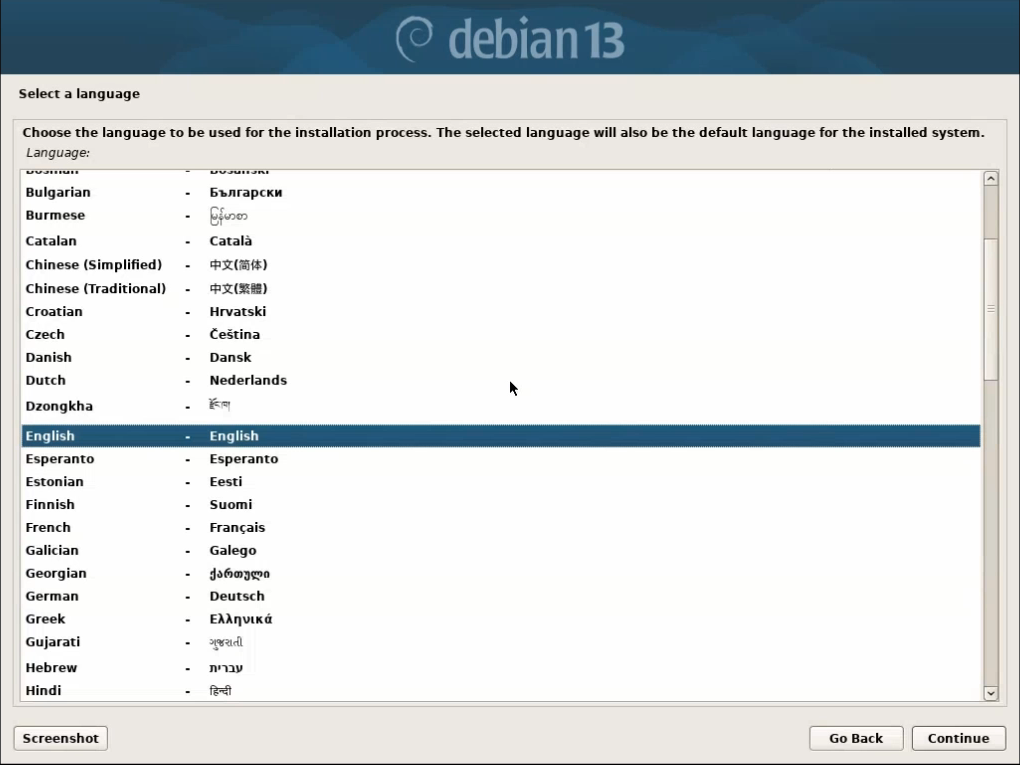
Step 2. Language Selection
- Choose your preferred language (e.g., English)
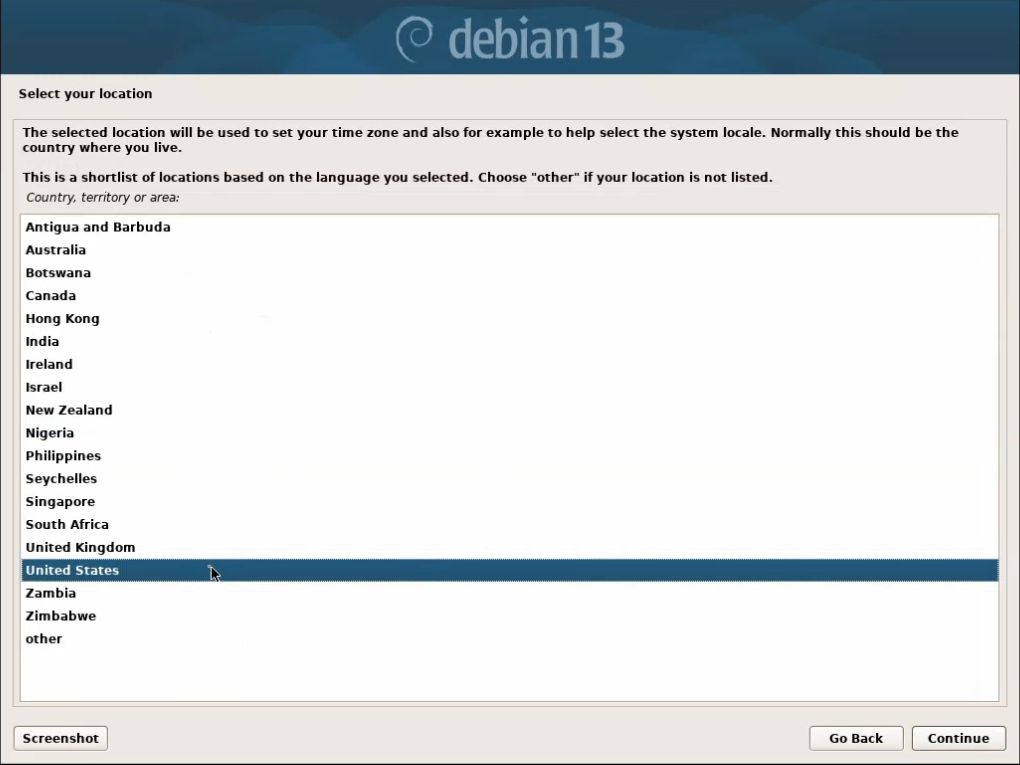
Step 3. Country Selection
- Select your location (United States)
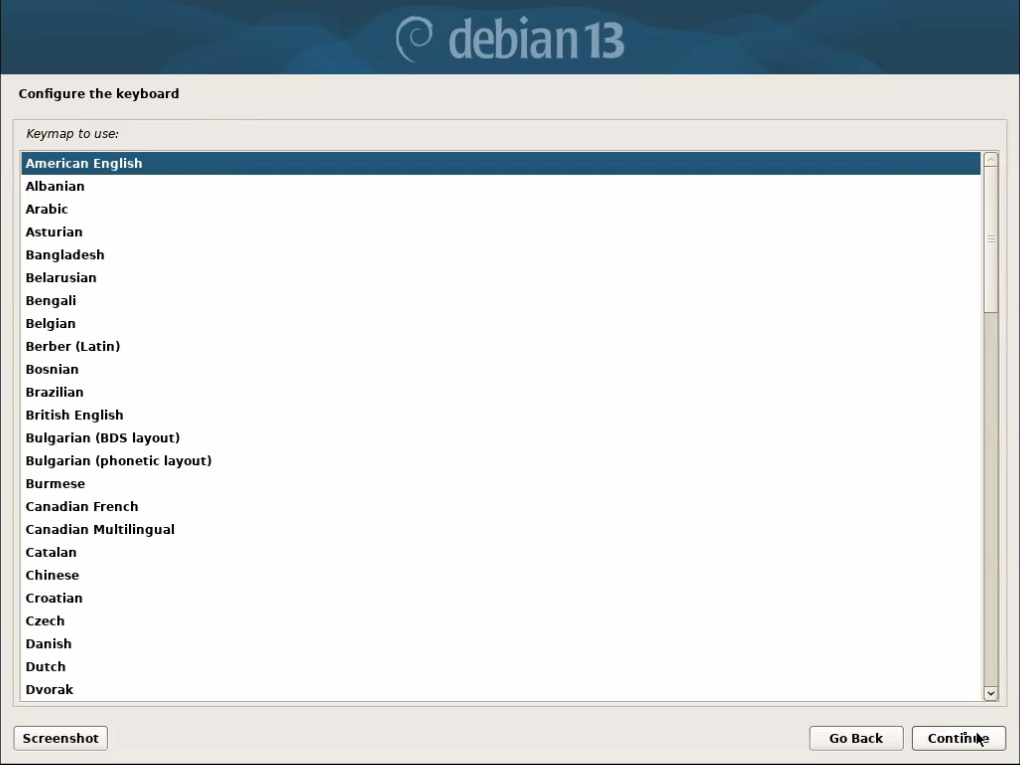
Step 4. Keyboard Layout
- Choose your keyboard layout (American English)
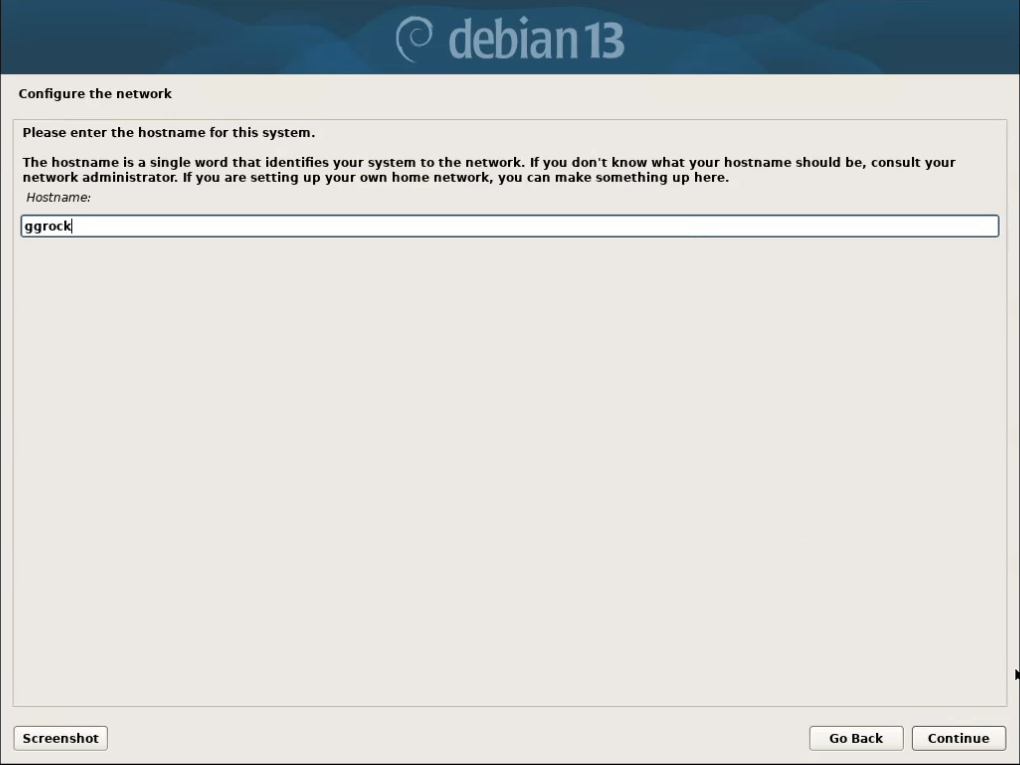
Step 5. Hostname
- Enter a hostname (e.g.,
ggrock)
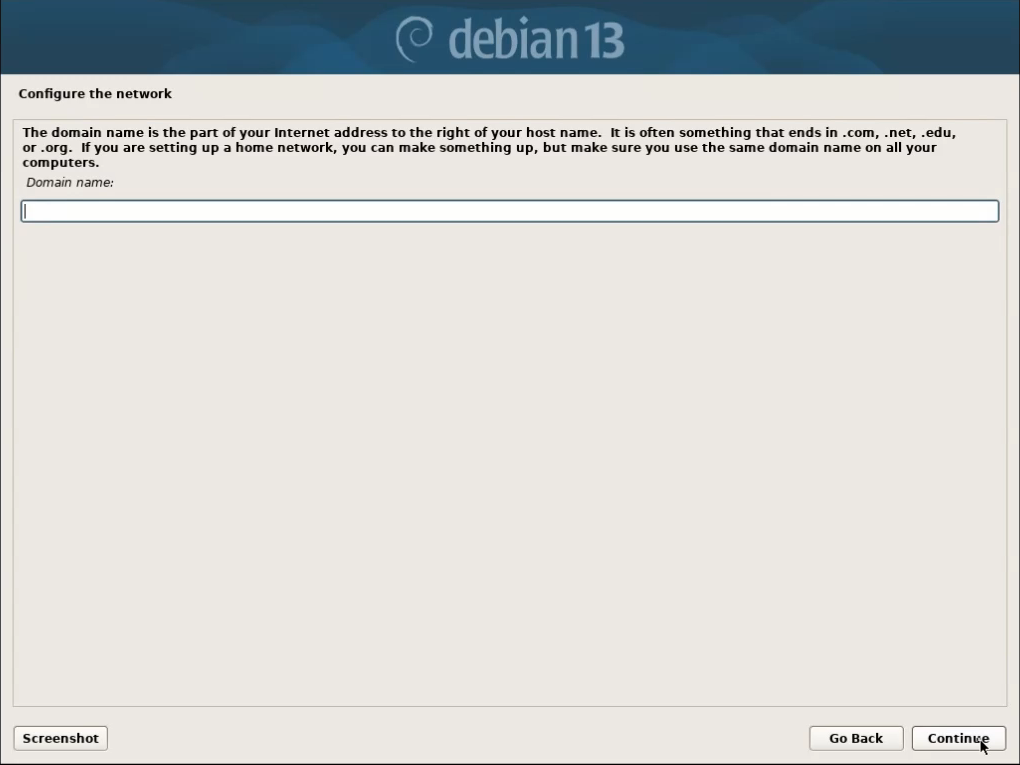
Step 6. Domain Name
- Leave blank and press Continue
🔐 Accounts & Clock
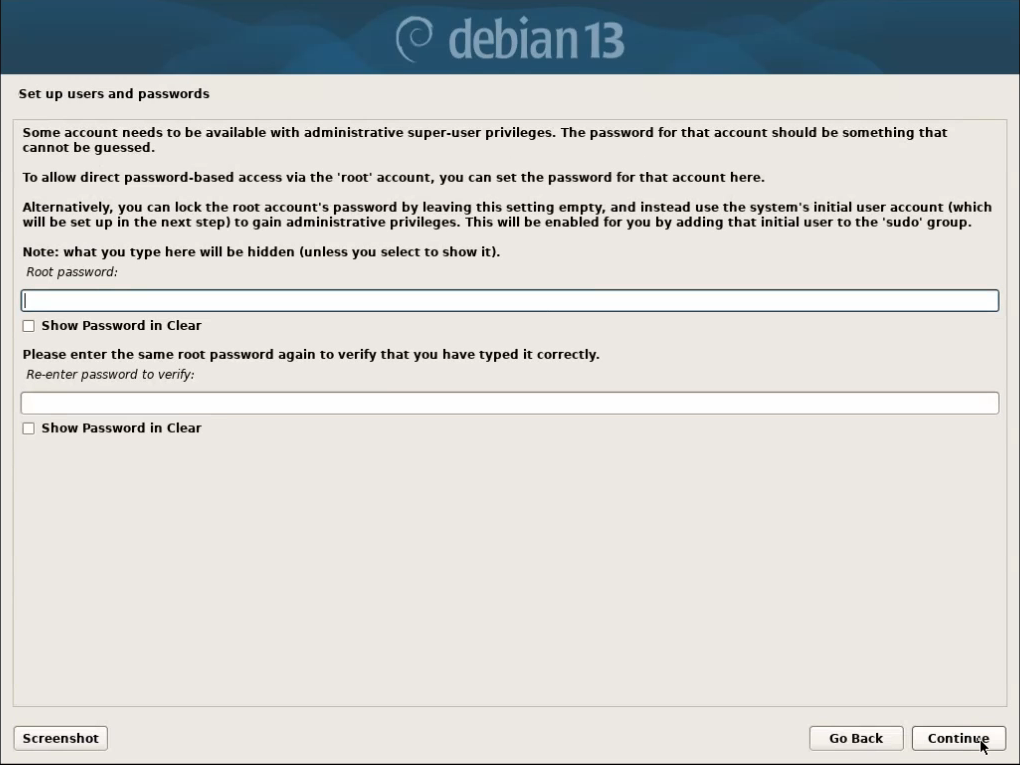
Step 1. Root Password
- Set a strong root password 🔐 — or leave it blank to use sudo instead (see below).
- If you set one, store it in a secure place. It cannot be recovered later (although it can be reset at a later time).
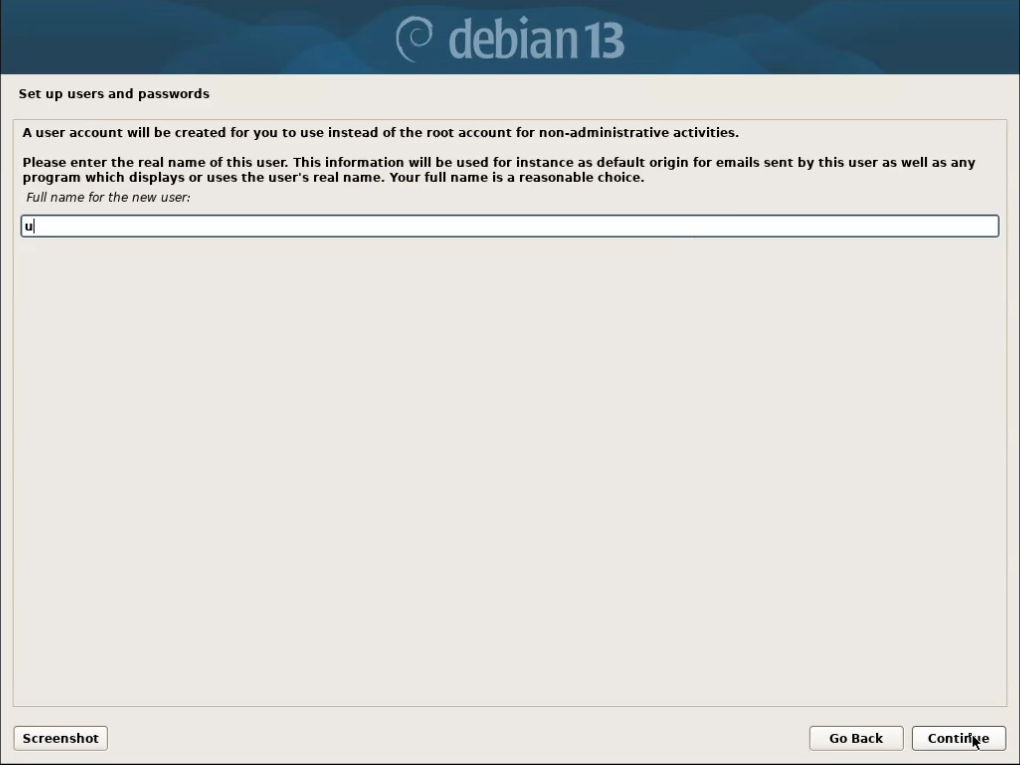
Step 2. Regular User Name
- Enter a full name for your regular (non-root) account (e.g. "user").
- Press Continue, then set the username for the account.
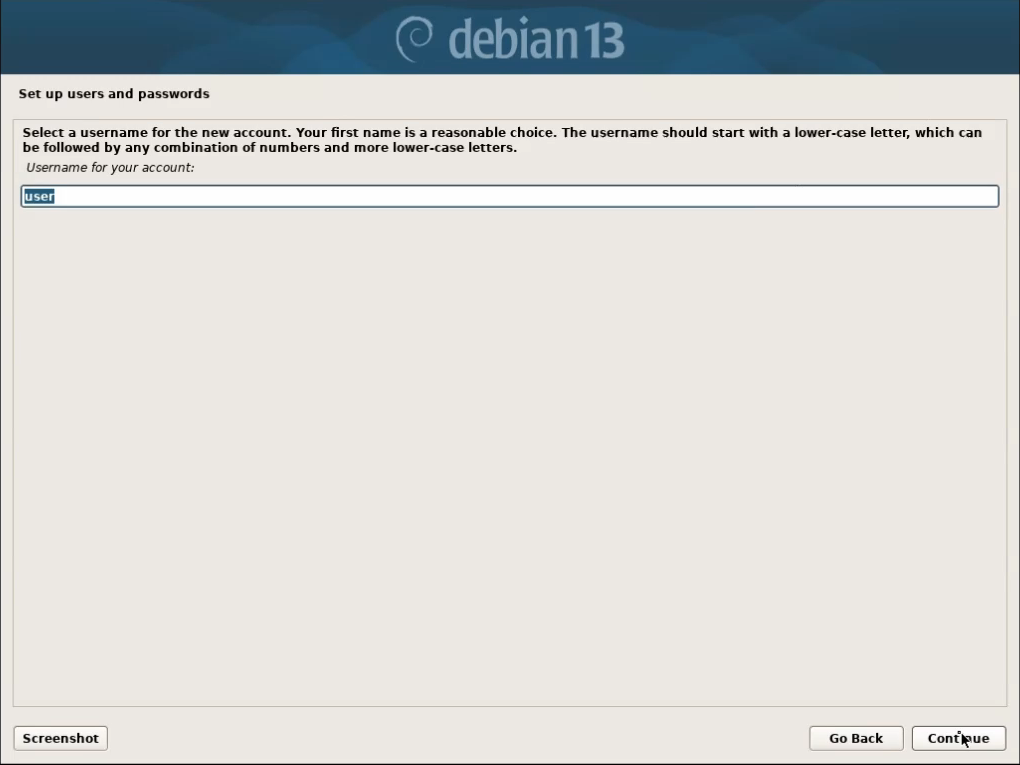
Step 3. User Password
- Set a password for the user created in Step 2
- 🔁 Can be reset later using root access
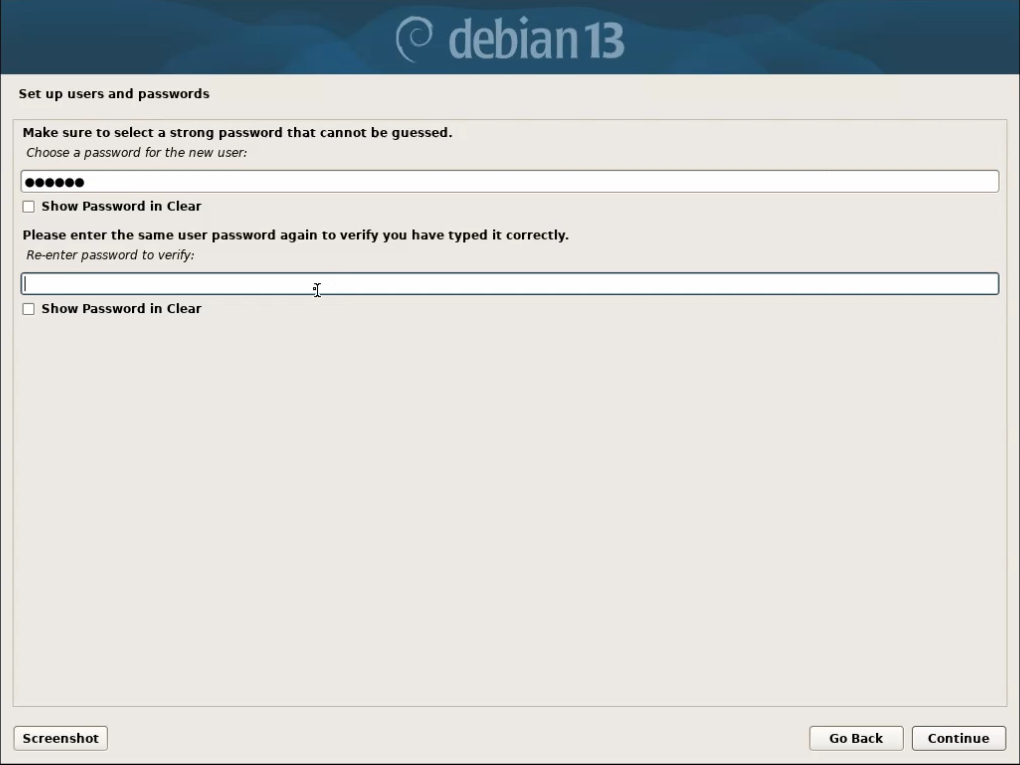
Step 4. Clock Configuration
- Select your timezone (e.g., Eastern Time)
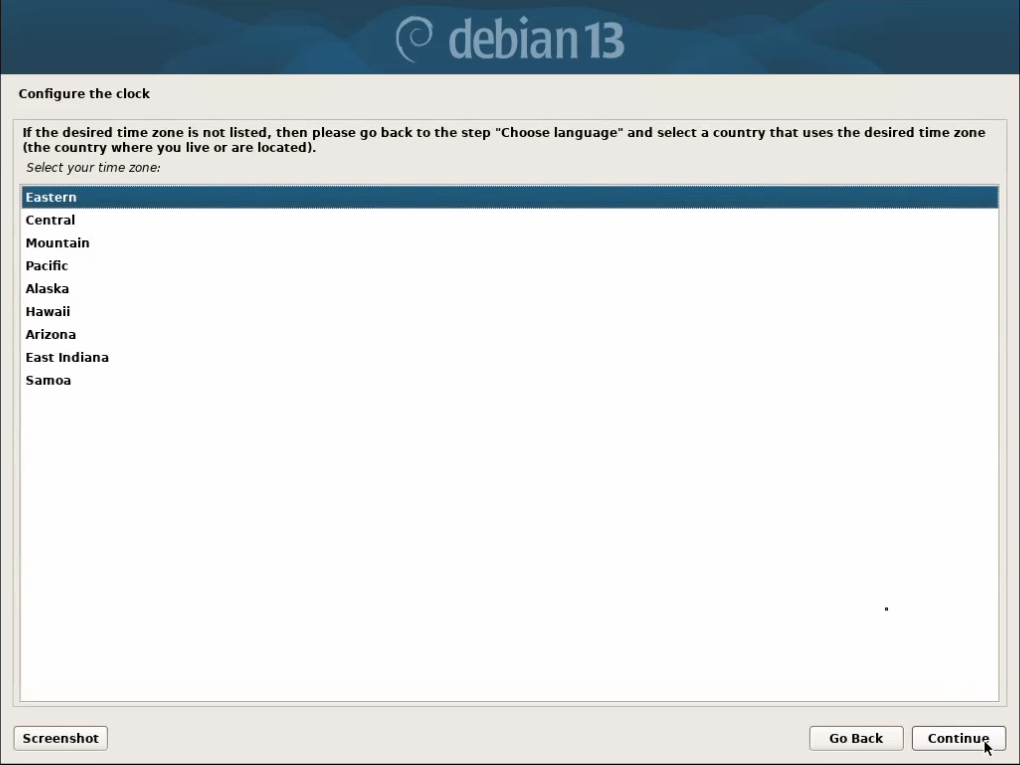
💽 Disk Setup & Boot
Step 1. Partition Setup
- Choose: Guided – use entire disk
- If installing the OS to a RAID array → follow Special Case – Install Debian to RAID, then return to Package Manager & Software, Step 1.
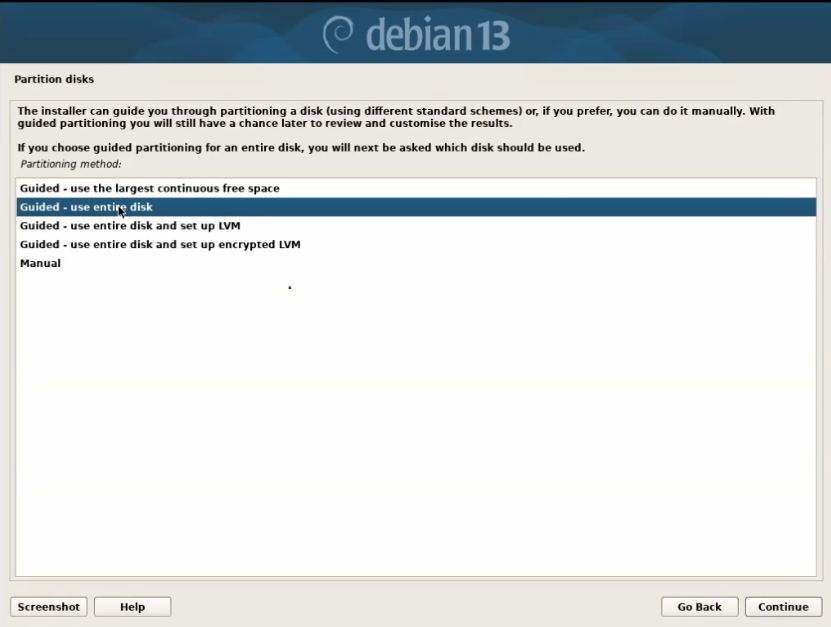
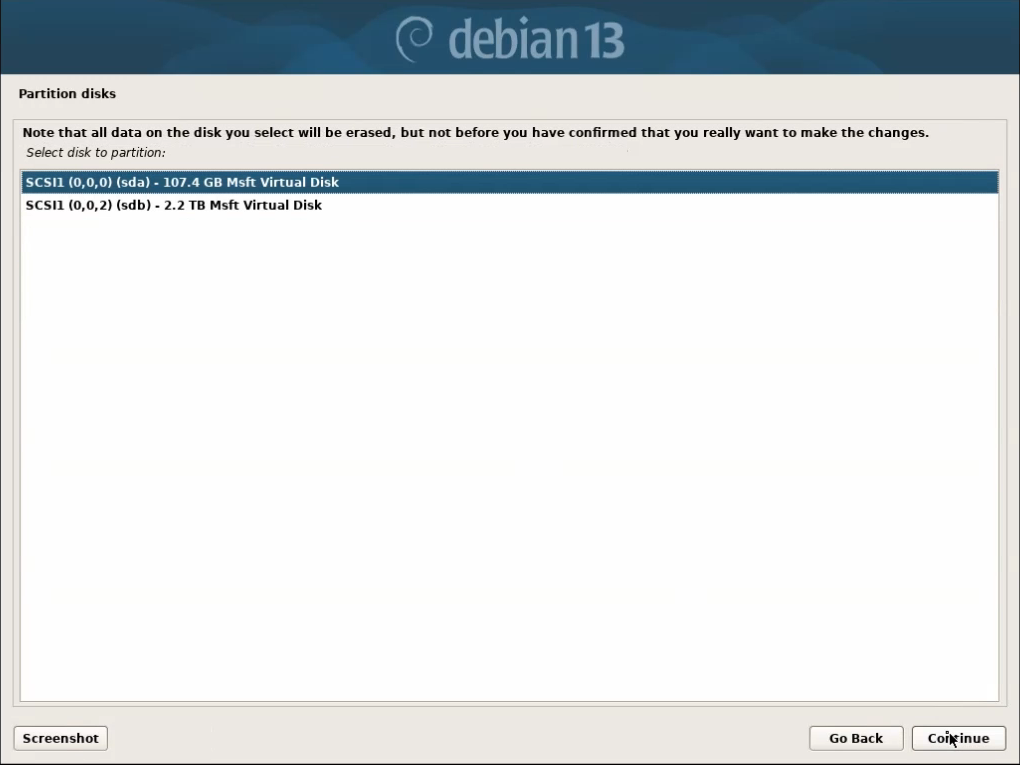
Step 2. Select OS Drive
- Choose your OS install drive — e.g.,
250.1 GB ATA Samsung SSD 860— normally a different/smaller size from your array drives.
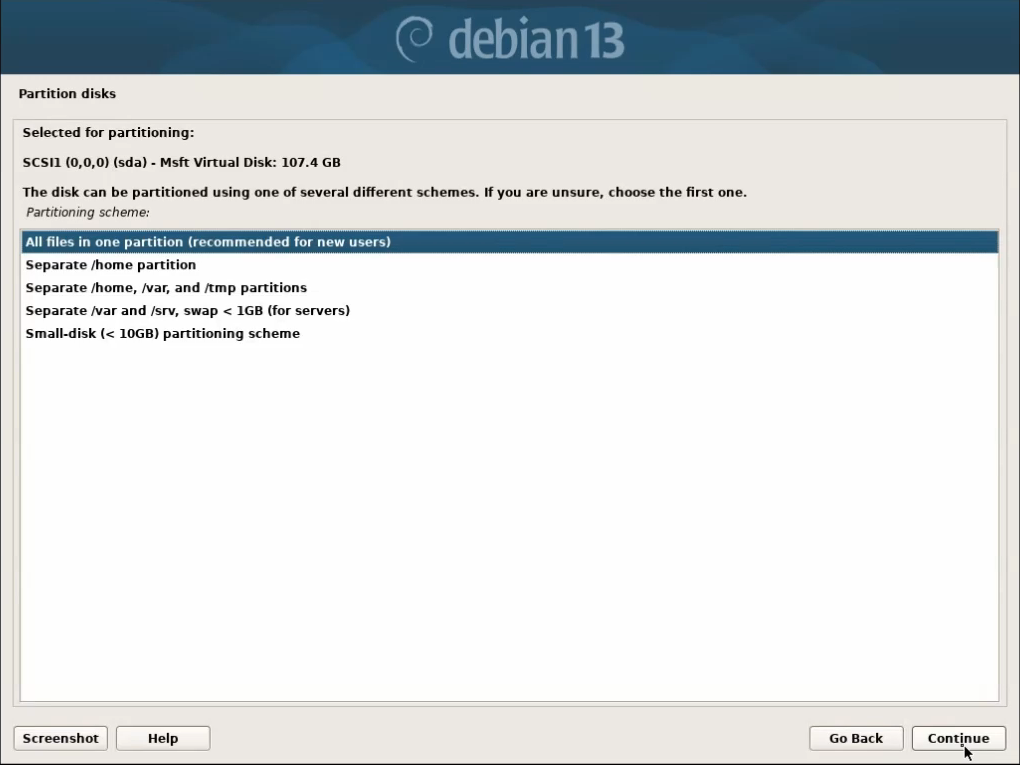
Step 3. Partition Layout
- Choose: All files in one partition (recommended for new users)
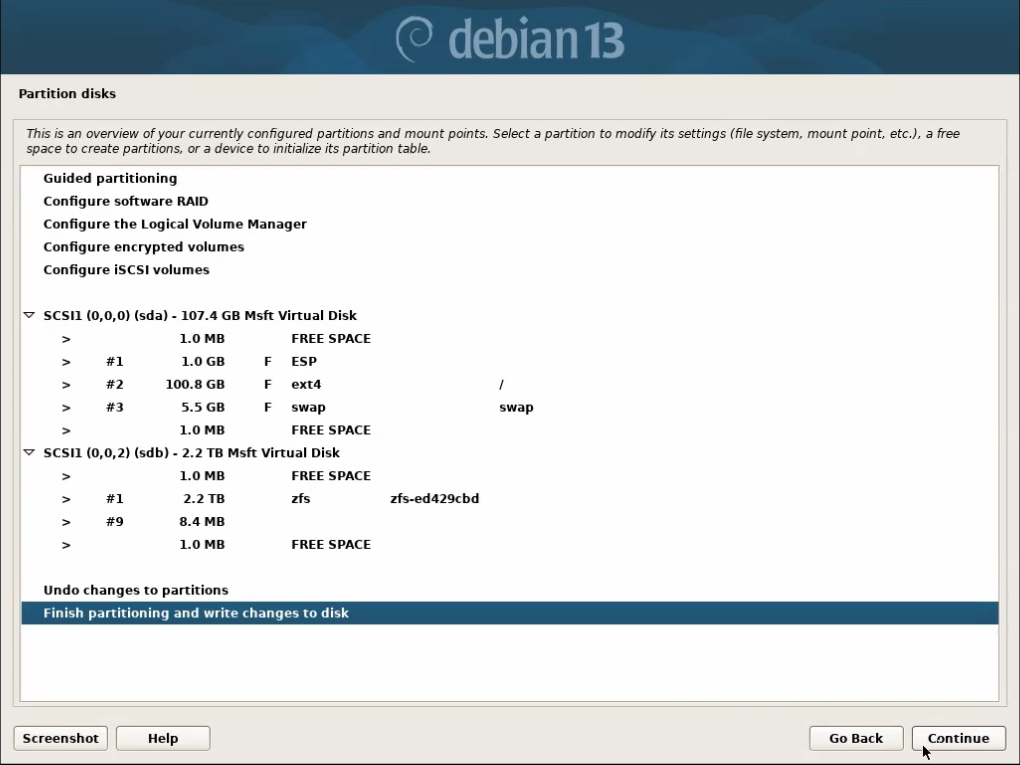
Step 4. Apply Partition
- Select Finish partitioning and write changes to disk
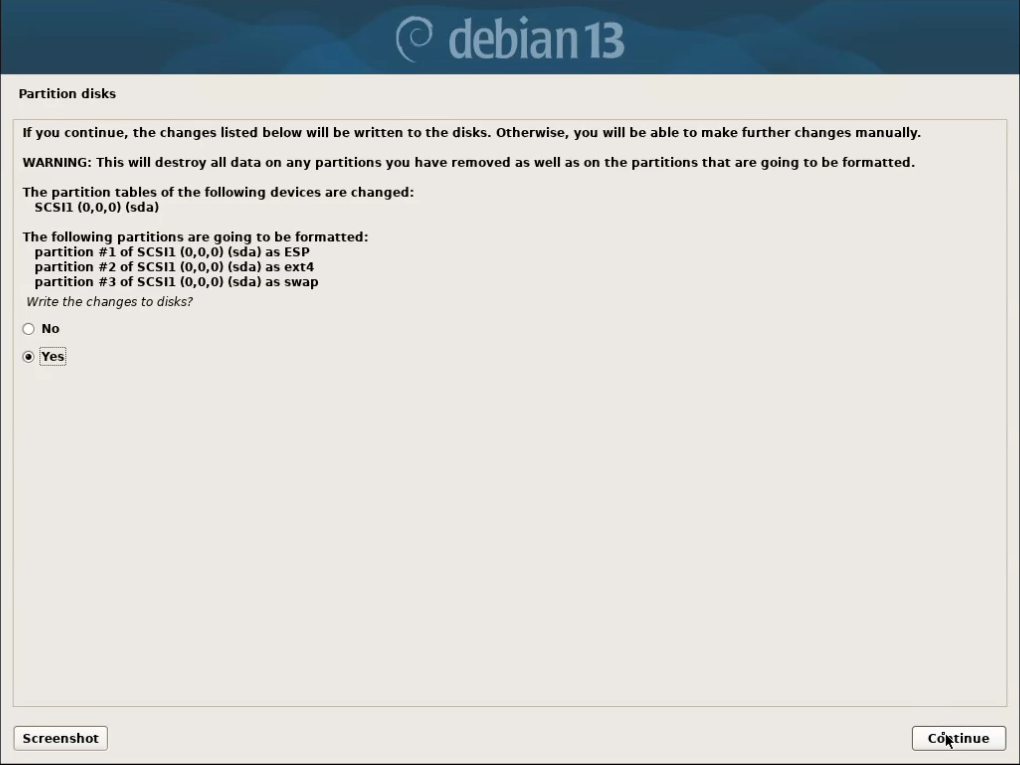
Step 5. Confirm Partitioning
- Confirm changes and proceed
- ⏳ Debian will now install the base system
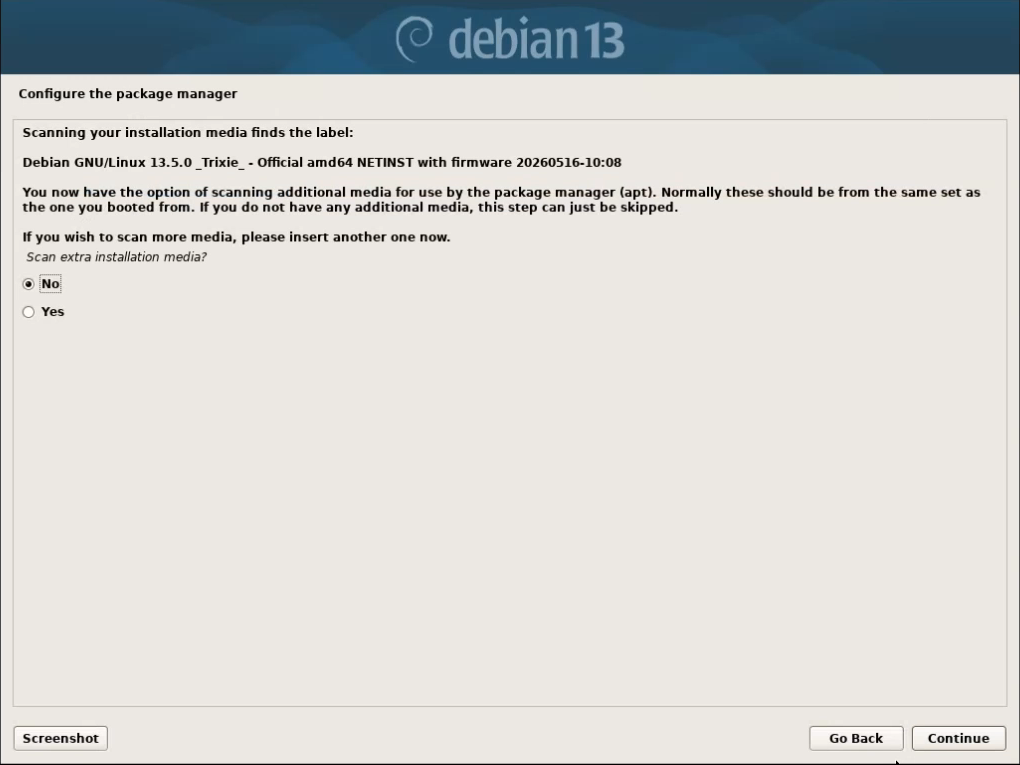
Step 6. (Optional) Scan Extra Installation Media
- Answer No and continue. In Debian 13 this prompt reads "Scan extra installation media?" rather than the old CD/DVD wording. It may not appear at all.
📦 Package Manager & Software
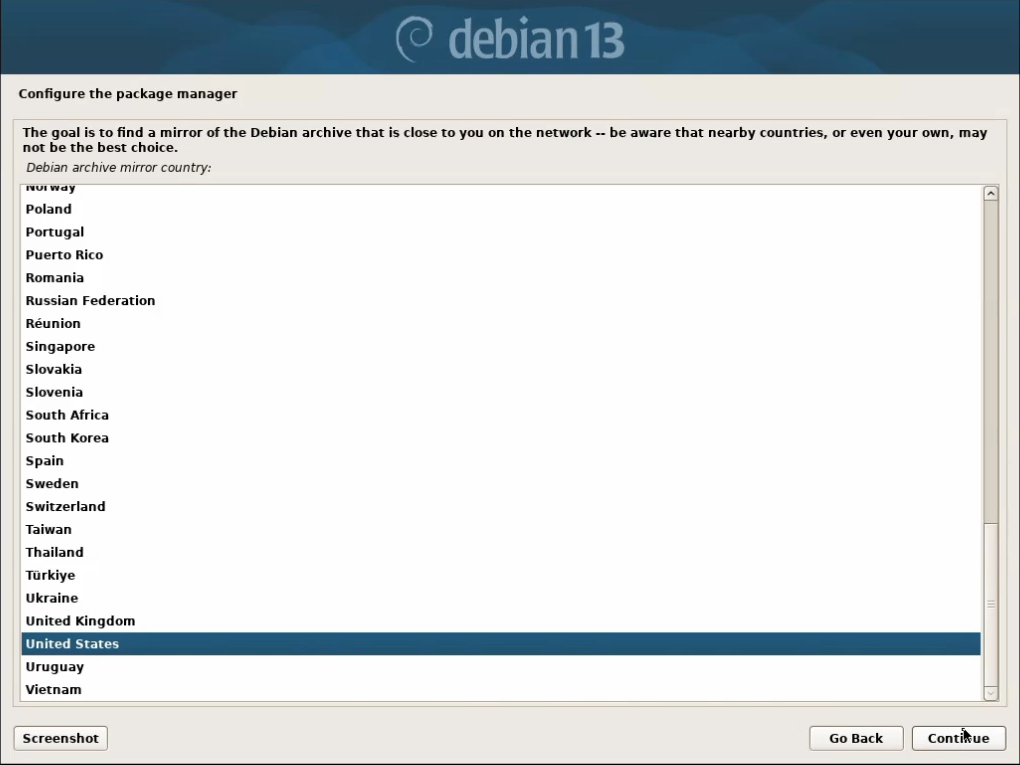
Step 1. Configure Package Manager
- Choose your country (United States)
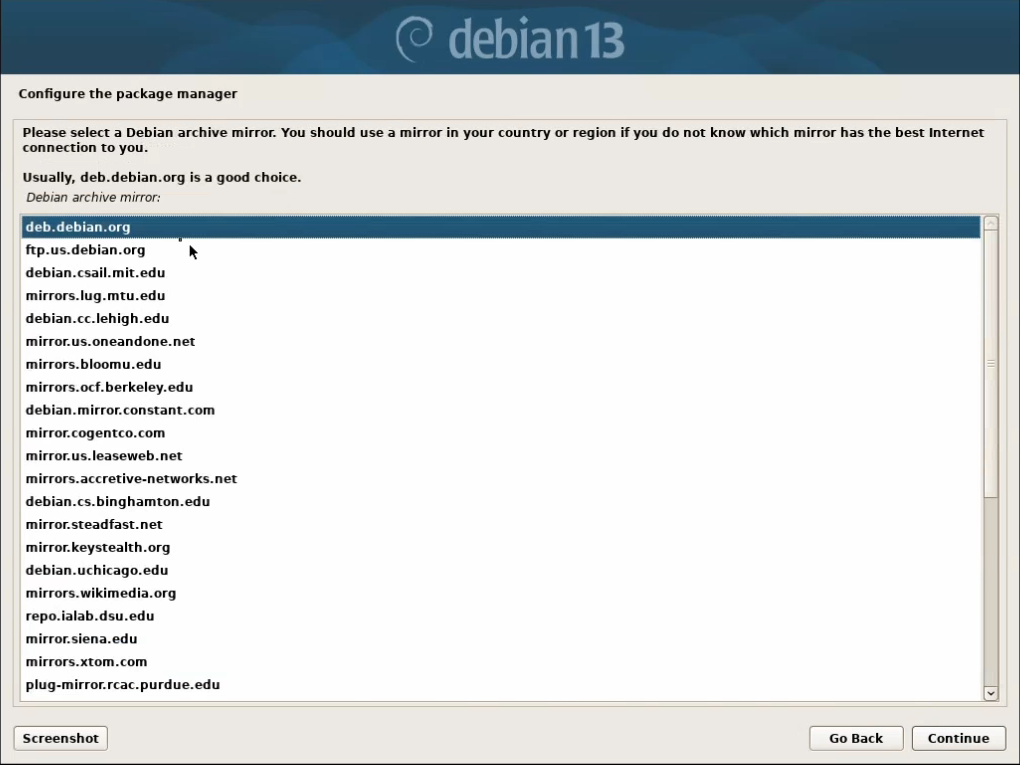
Step 2. Mirror Selection
- Select: deb.debian.org
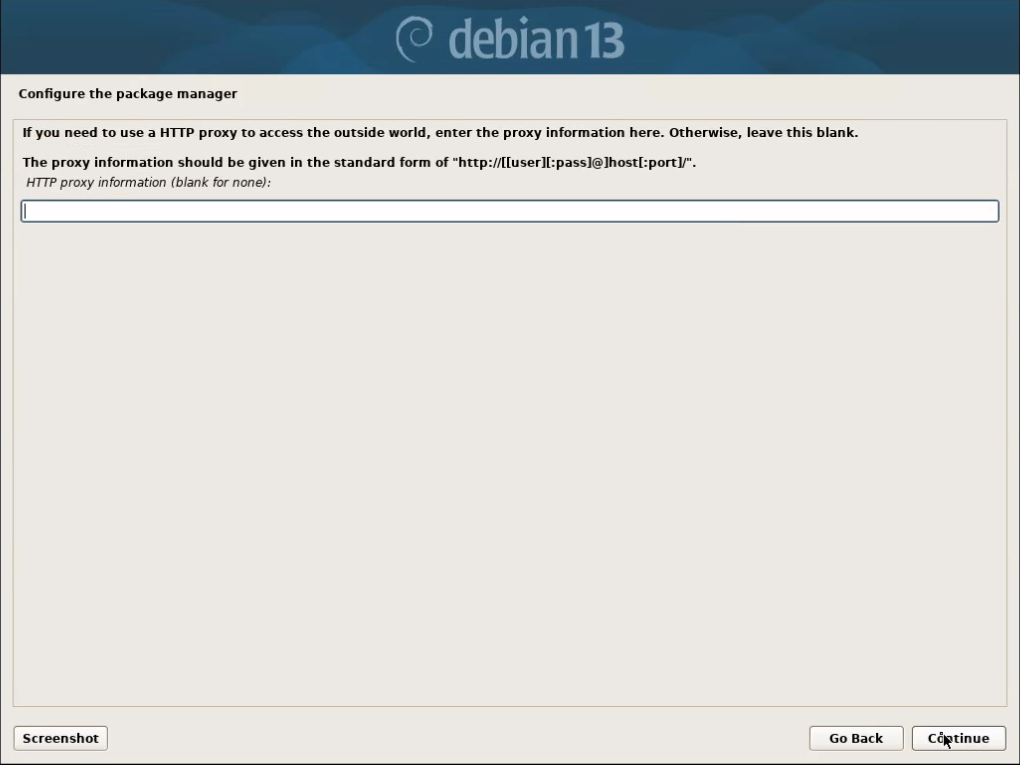
Step 3. HTTP Proxy
- Leave the proxy field blank and press Continue
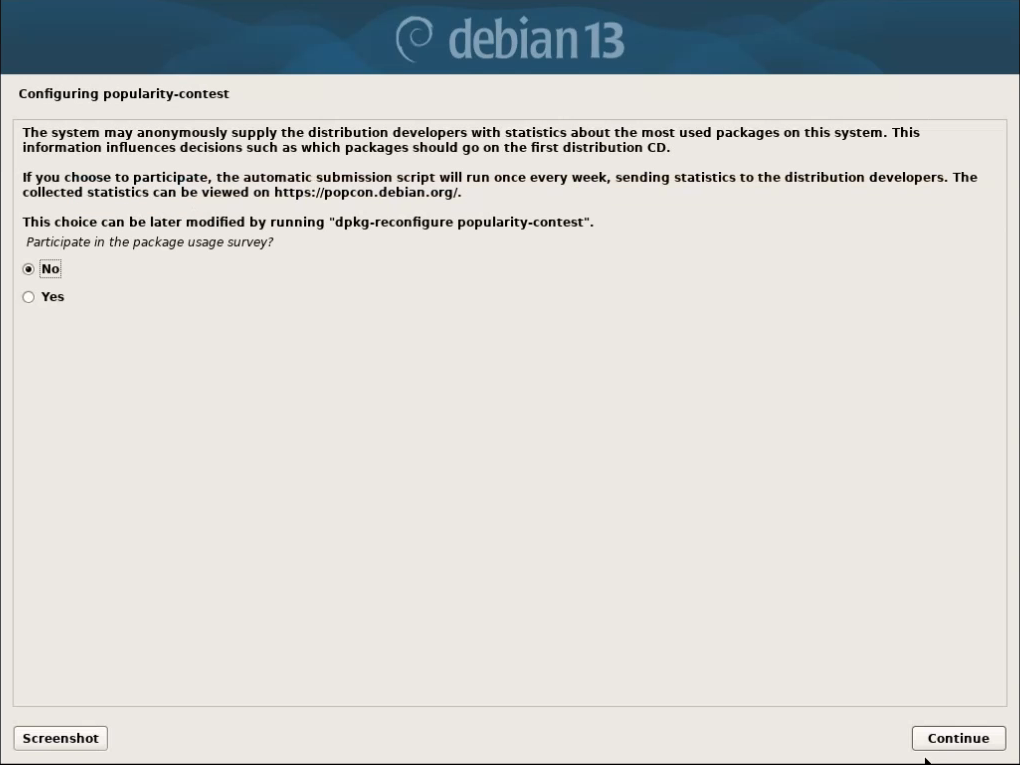
Step 4. Survey Participation
- Choose based on your preference
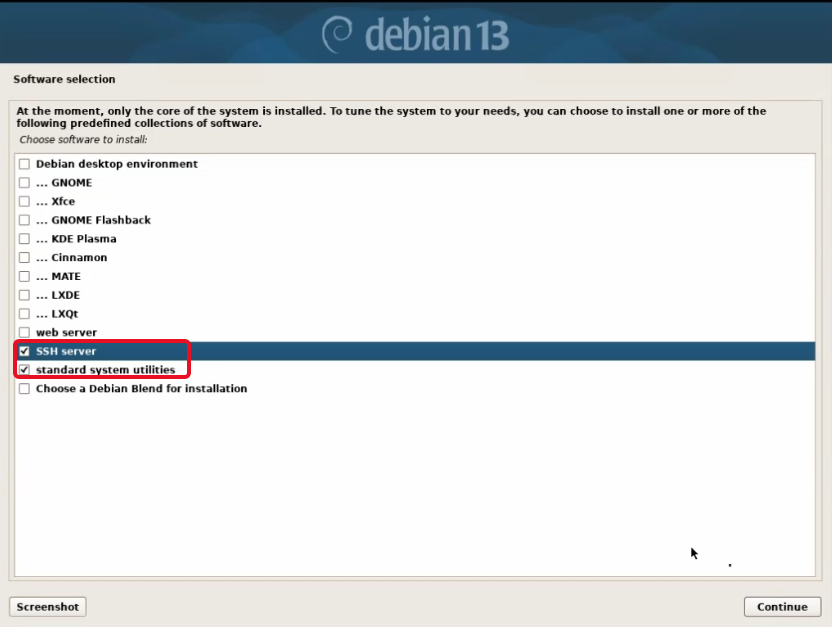
Step 5. Software Selection
✅ Select only:
- SSH server
- Standard system utilities
❌ Leave everything else unticked — Debian desktop environment, GNOME, Xfce, KDE Plasma, and every other desktop or task.
🧱 Final Steps
Step 1. GRUB Boot Loader
- If asked whether to install the GRUB boot loader to your primary drive, answer Yes.
- When prompted for the device, pick the same OS drive you chose in Disk Setup & Boot, Step 2 — never
Enter device manuallyand never an array drive.
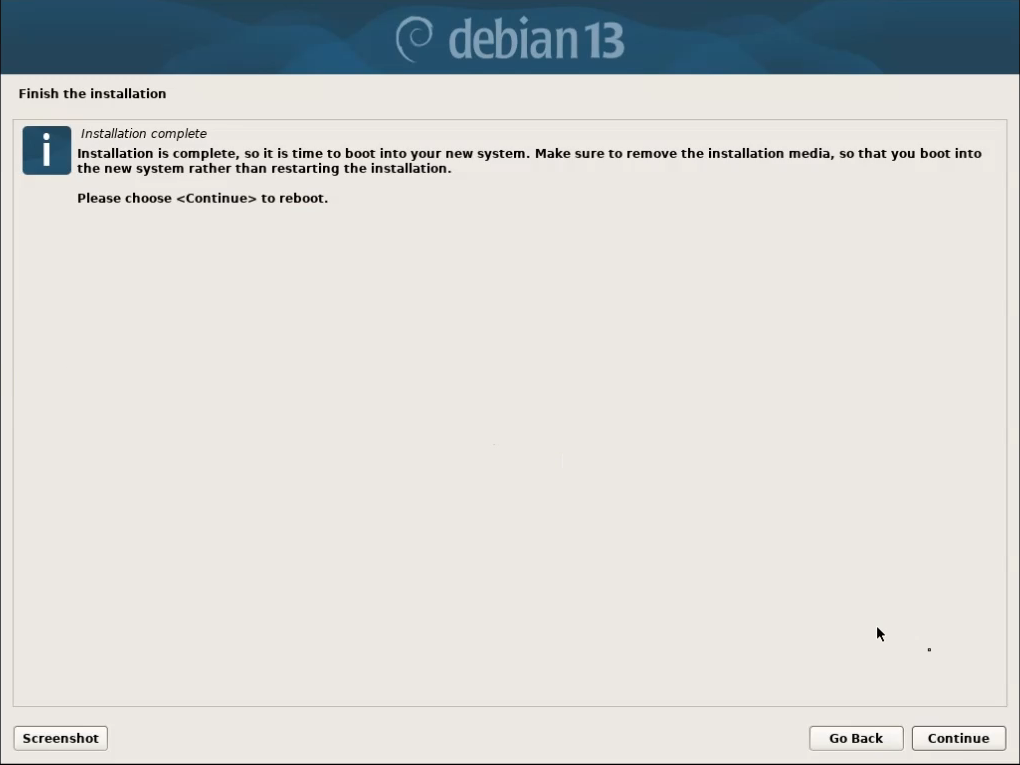
Step 2. Restart Server
- Remove the USB 💽
- Click Continue
Step 3. Confirm Installation
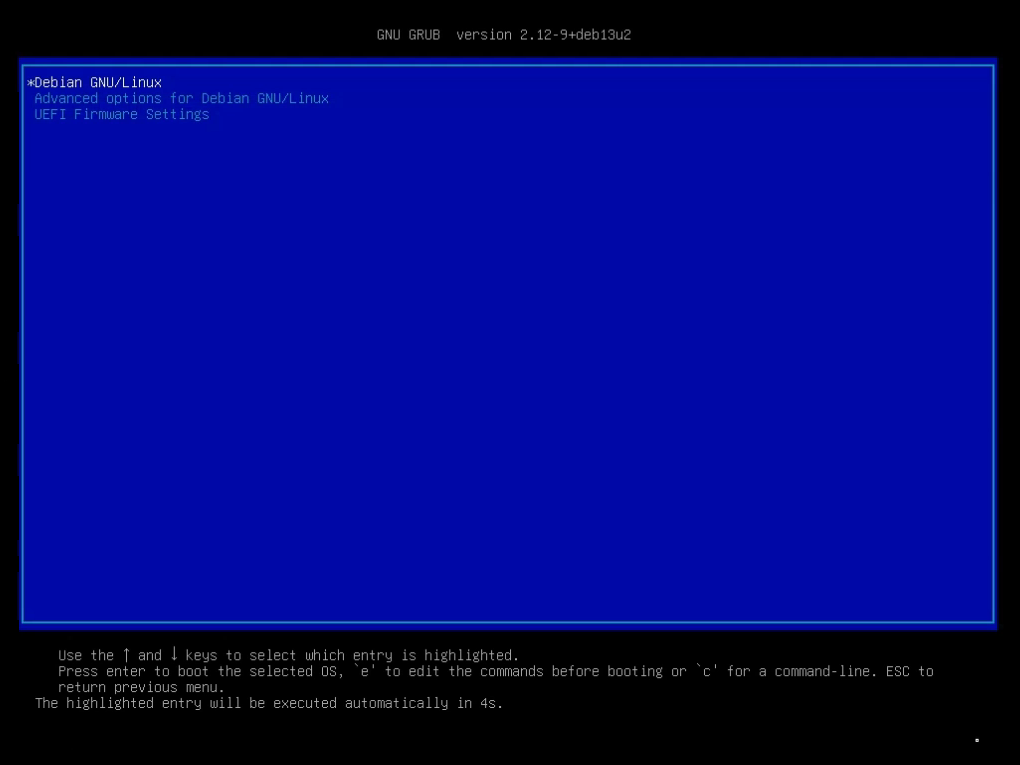
The server will now restart and display the GRUB menu. The default Debian GNU/Linux entry is selected after 5 seconds.
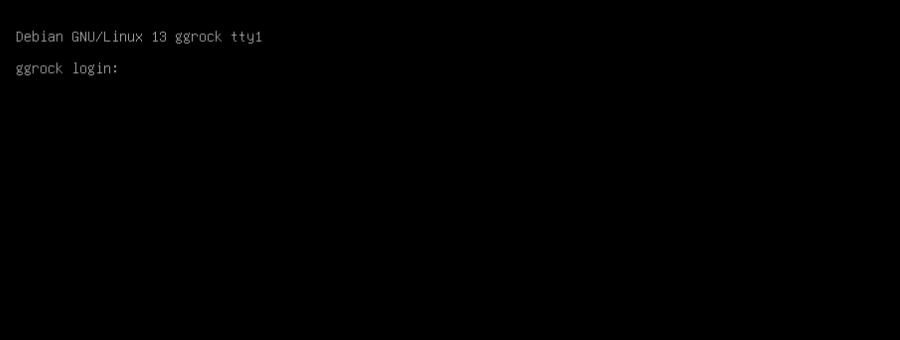
After boot, you should see the console login prompt:
Debian GNU/Linux 13 ggrock tty1

ggrock login:
🎉 That's it! Debian 13 is now installed and you are ready to Install the ggRock Server Application.
🔄 Already Running Debian 12?
A working Debian 12 ggRock server does not need to be reinstalled. Debian 12 can be upgraded, and a clean install of 13 is only recommended for new builds.
If you do want to move an existing server from 12 to 13, run ggrock-upgrade-debian13 to upgrade your server to Debian 13 Trixie.
🛠️ Troubleshooting
The installer never reaches the hostname screen
Network autoconfiguration failed. Check the cable is in the port you plugged in, that the switch port is live, and that DHCP is available. If the server has several NICs, see Appendix I: Multiple Server Network Interfaces.
"No kernel modules were found" or missing firmware warnings
You wrote the USB from the wrong image or wrote it in ISO mode. Re-download the official Debian 13 amd64 netinst image and write it with Rufus in DD image mode (Guide II).
Only your array drives appear in disk setup
The OS SSD is not being detected — check the SATA/NVMe cable and confirm the drive is enabled in BIOS. Never continue by installing onto an array drive.
Mirror step fails or hangs downloading packages
Usually DNS or a captive portal on the venue network. Confirm the server can reach the internet, leave the proxy field blank, and retry with deb.debian.org.
Server boots to a graphical login instead of a console
A desktop environment was left ticked in software selection, and ggRock will not run with one installed. Reinstall Debian with only SSH server and standard system utilities selected, or contact support before attempting to remove the desktop packages.
Server boots straight back into the installer
The USB is still attached, or BIOS boot order still prefers it. Remove the USB and set the OS drive as first boot device.
Installation path · Step III of VIII