

 Español
 中文
 العربية
Appendix I: Multiple Server Network Interfaces
This article outlines alternate steps for configuring the network if your server has multiple Network Interface Cards (NICs) installed.
⚙️ Configure the Network
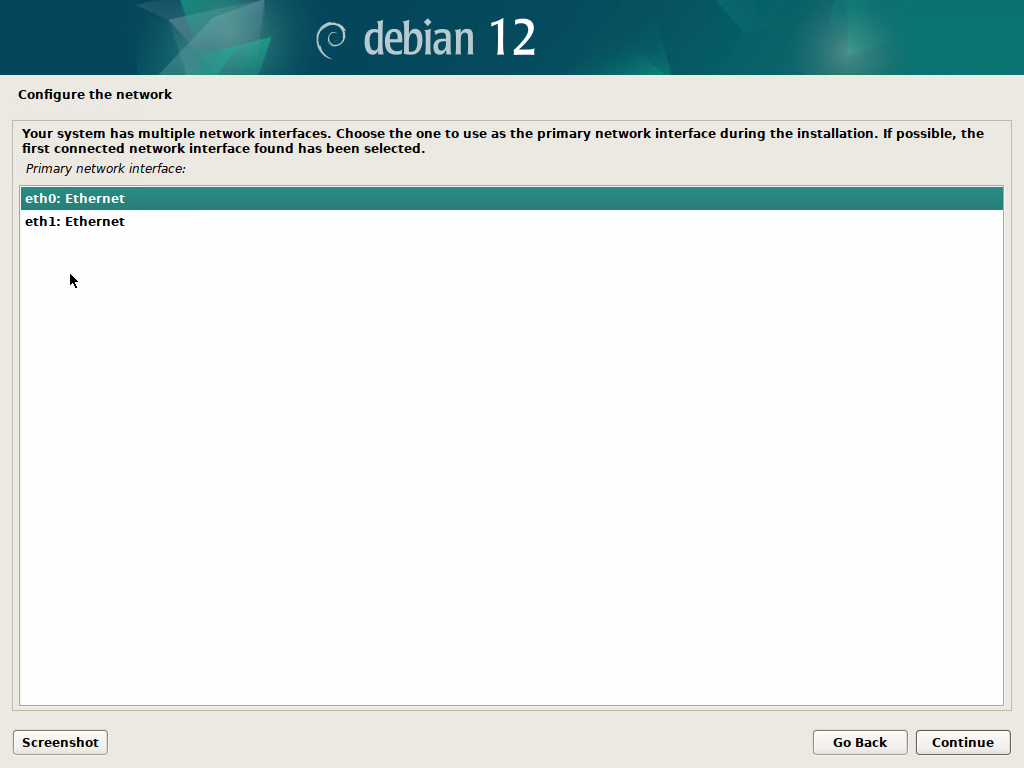
- On the "Configure the network" screen, select one of the listed network interfaces and click Continue.
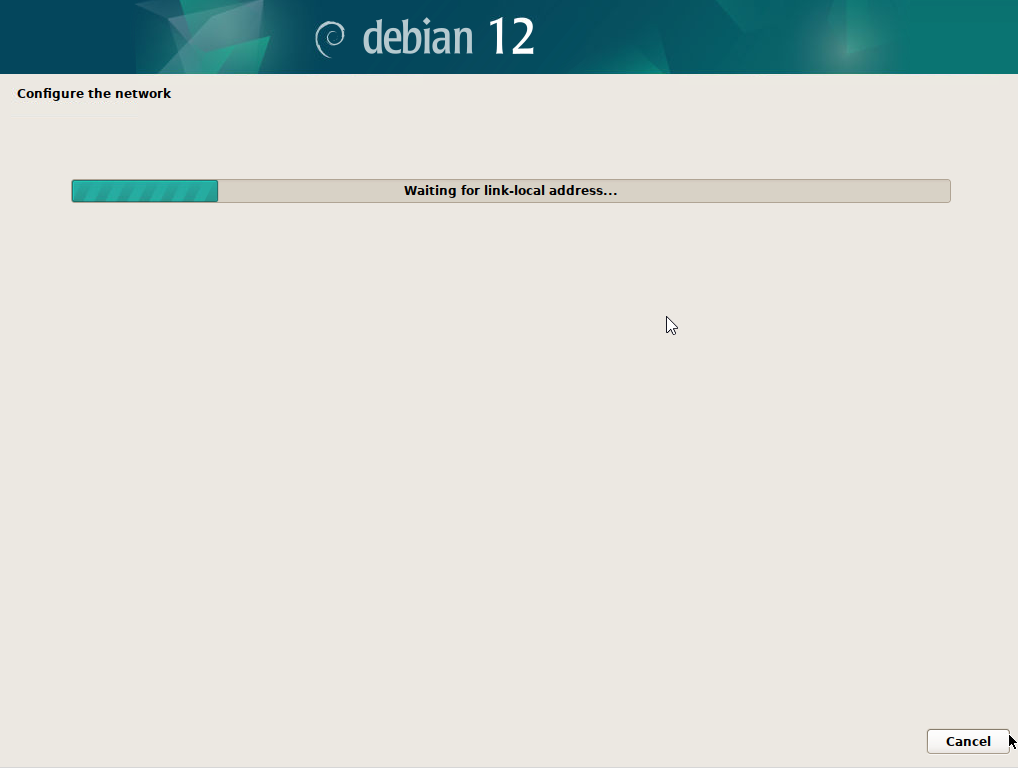
- You should see a "Configuring the network with DHCP" progress message, followed by "Network autoconfiguration has succeeded."
- ✅ If successful, proceed to Step 5 of the III. - 🐧 Install Debian Linux guide.
- Click Continue to return to the network interface selection screen.
- Choose a different network interface from the "Primary network interface" list and repeat the process.
ℹ️ Additional Information
🔌 If all interfaces fail:
-
Double-check the physical connections:
-
Is the NIC port connected?
-
Are there link lights on both the NIC and the switch?
-
Is the Ethernet cable securely connected and undamaged?
-
Is the network drop connected to your telecommunications room?
-
Is a patch cable properly connected between your patch panel and switch?
-
Inspect your switch:
-
Is DHCP enabled on the port?
-
Are any port security policies preventing the server from connecting?
🧑💻 Advanced: Verify Network Interface Configurations
If your /etc/network/interfaces file has been manually edited, the ggrock-linux-configurator may fail during installation.
To verify and correct this:
- Run
ip ain the terminal and note each interface name. - Run
cat /etc/network/interfacesand ensure each active NIC has a corresponding entry. - For each NIC not in the DOWN state, add an entry like:
iface eno3 inet dhcp
- After updating the file, re-run the ggRock installation.
🛠️ Temporary Workaround
To bypass the issue and continue with the installation:
- Choose "No" when prompted to enable the VM bridge.
- Contact ggCircuit Support via the purple chat bubble in the bottom-right corner of your screen for assistance.