

 Español
 中文
 العربية
III. - 🐧 Install Debian Linux
The installation of Debian 12 (codename Bookworm) is performed using a graphical installer that walks you through language, time zone, networking, disk setup, and more.
⚠️ Important: If you are setting up Debian with an RAID OS Disk, make sure to follow the external guide linked in Step 11.
⚙️ If you're installing Debian to a RAID array, ensure your motherboard BIOS is set to Legacy boot mode.
🧭 Step-by-Step Instructions:
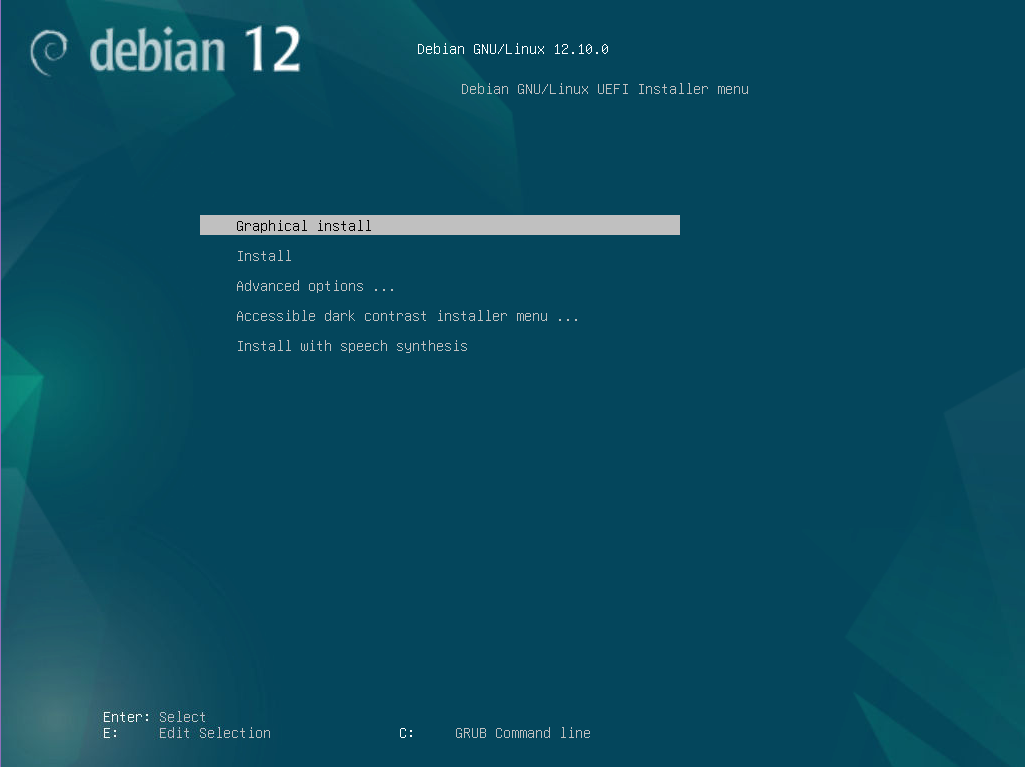
Step 1. Installation Options
- Select Graphical Install
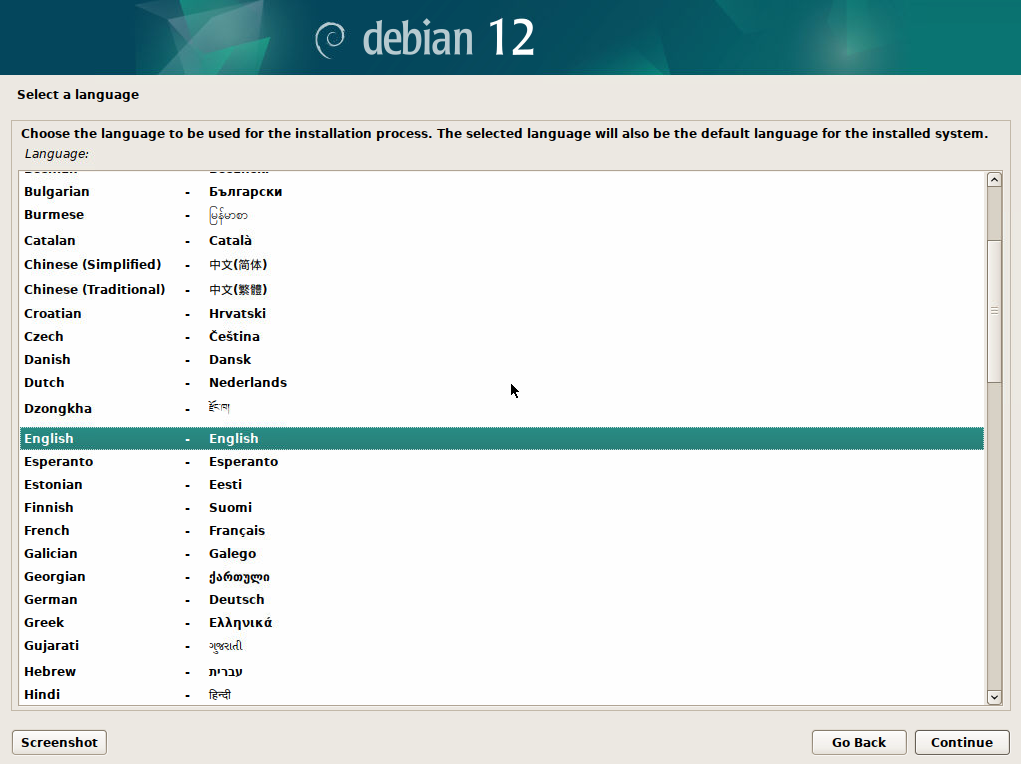
Step 2. Language Selection
- Choose your preferred language (e.g., English)
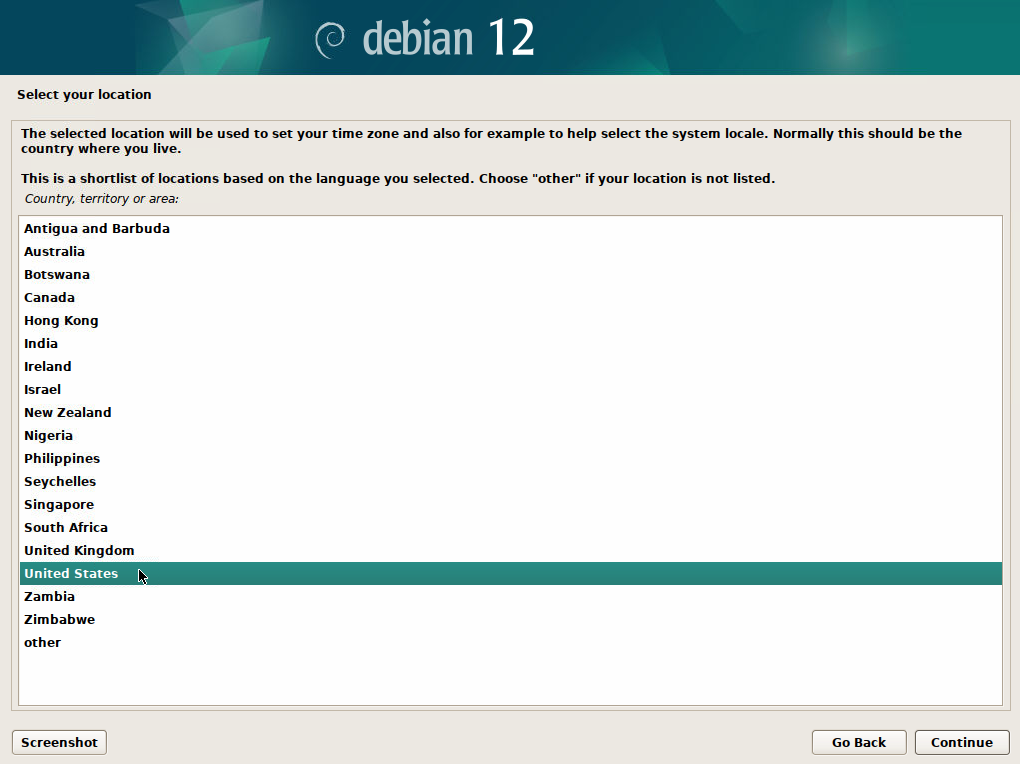
Step 3. Country Selection
- Select your location (United States)
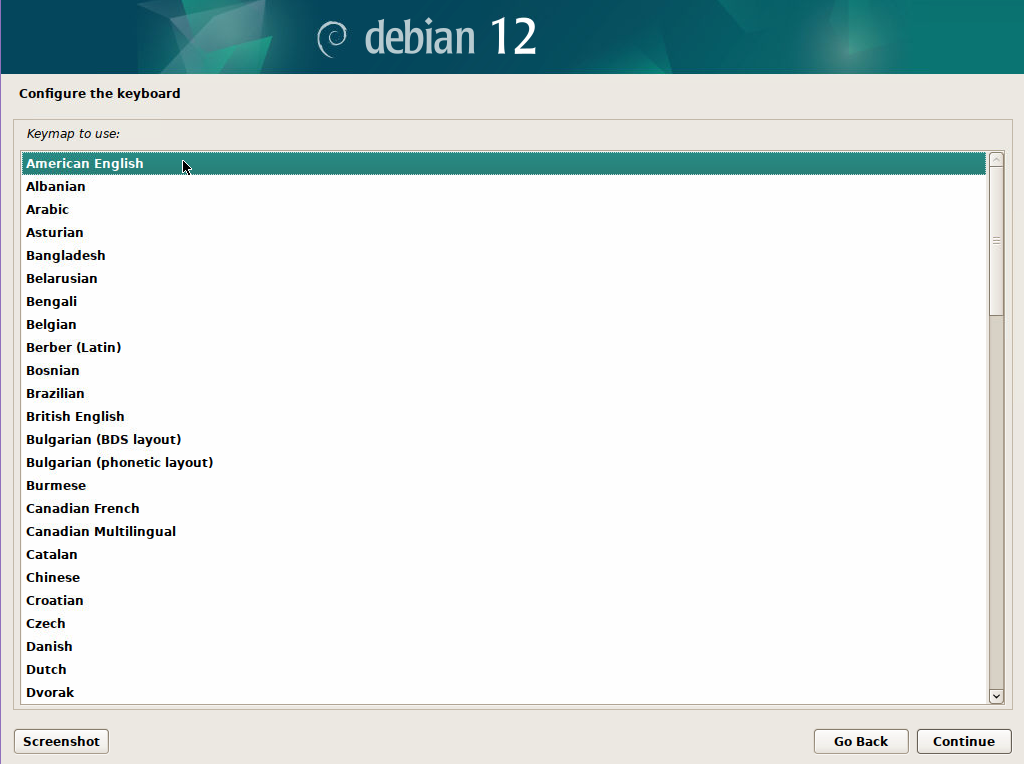
Step 4. Keyboard Layout
- Choose your keyboard layout (American English)
⏳ Upon clicking Continue, Debian will take a few moments to detect hardware and network settings in preparation for the next step.
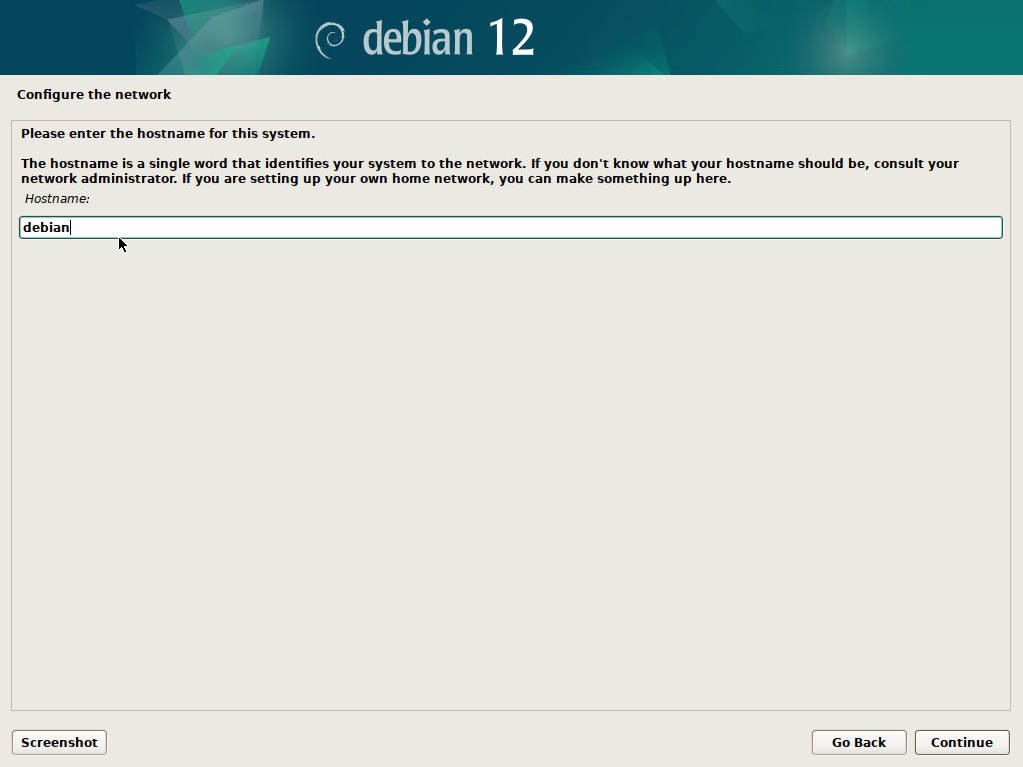
Step 5. Hostname
- Enter a hostname (e.g.,
ggrock)
❗ If you see a different screen, go to Appendix I: Multiple Server Network Interfaces
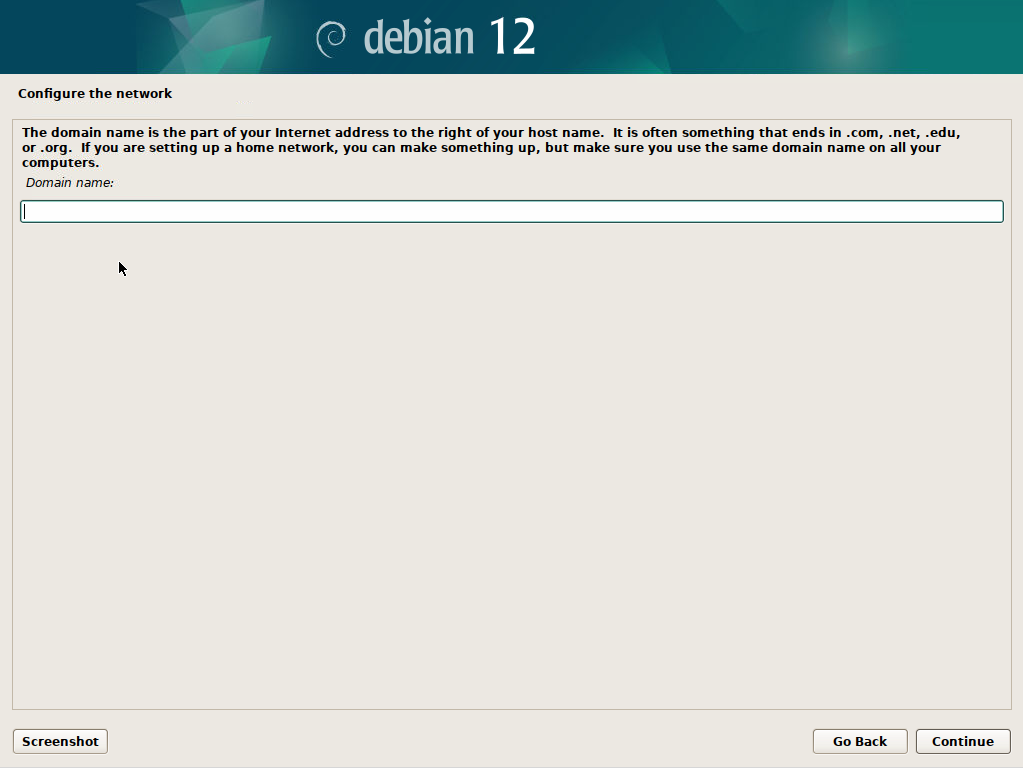
Step 6. Domain Name
- Leave blank and press Continue
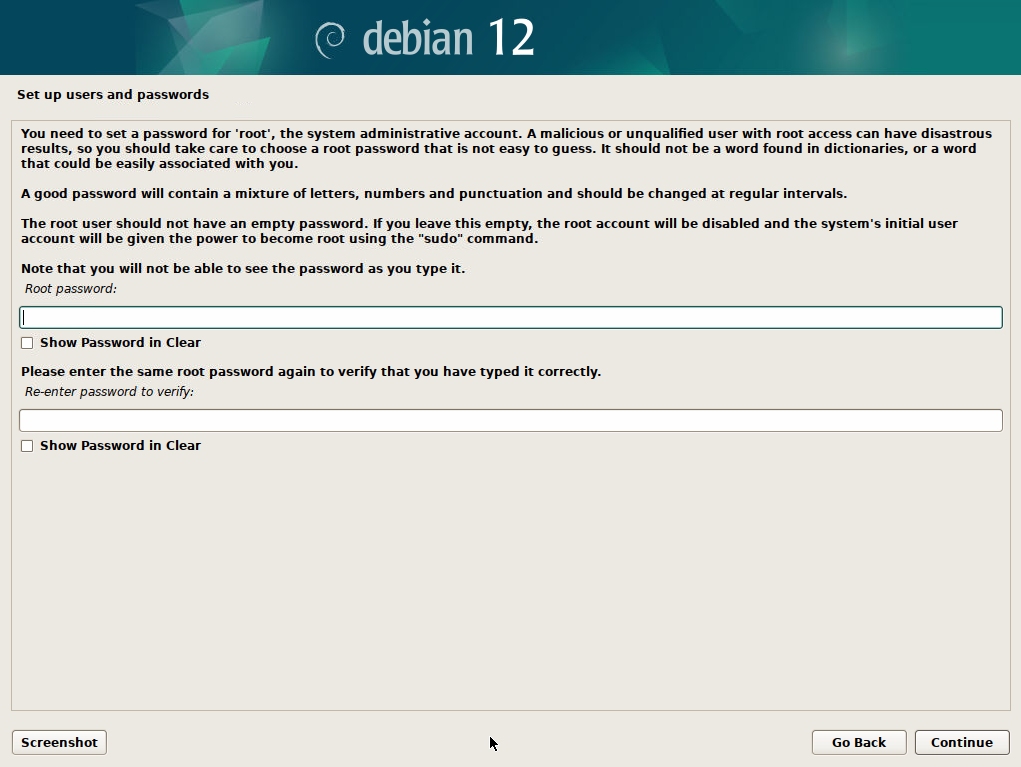
Step 7. Root Password
- Set a strong root password 🔐
- Store it in a secure place. It cannot be recovered later (although it can be reset at a later time).
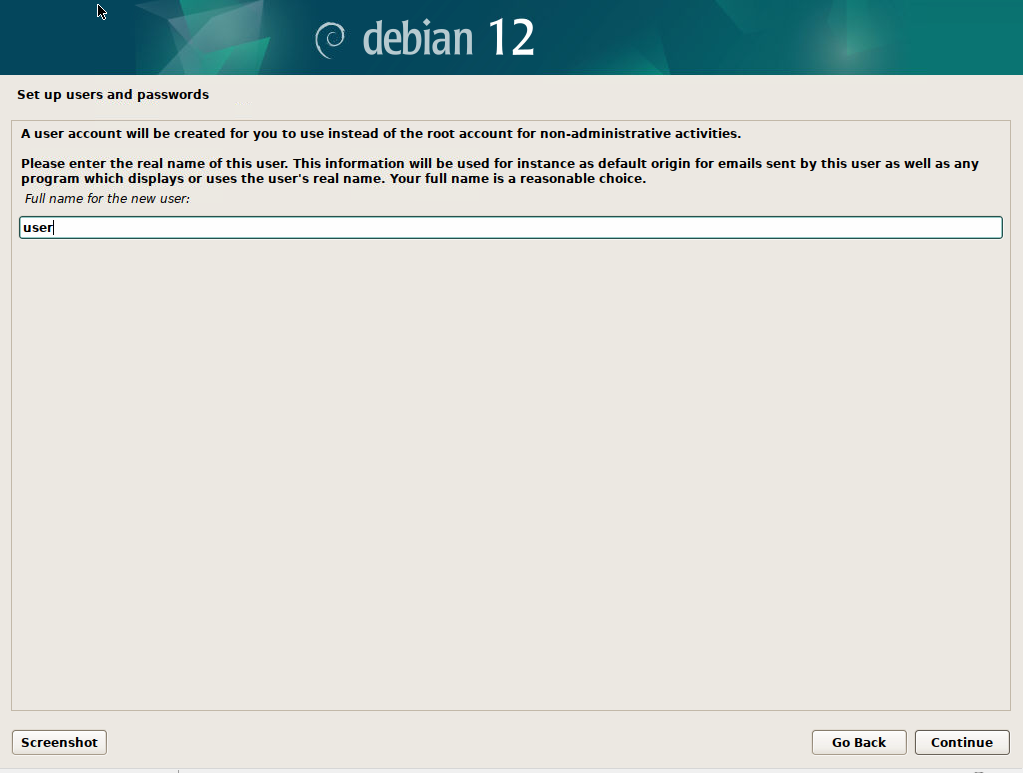
Step 8. Regular User Name
- Enter a username for your regular (non-root) account (e.g. “user”).
- Press Continue, then set the username for the account.
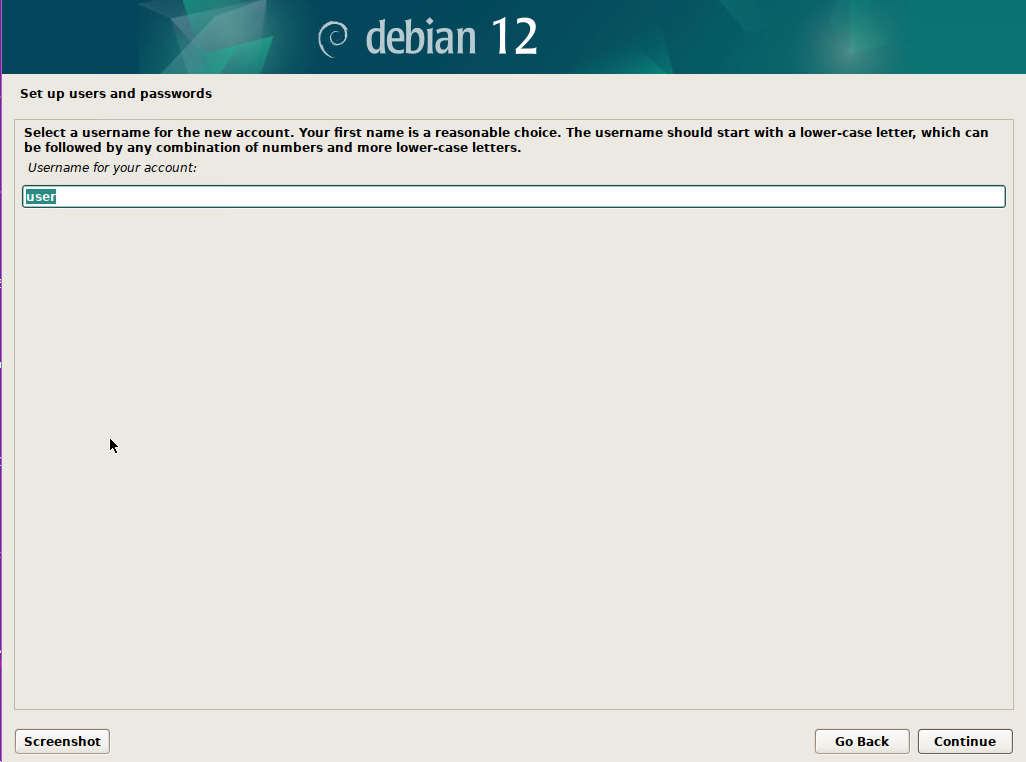
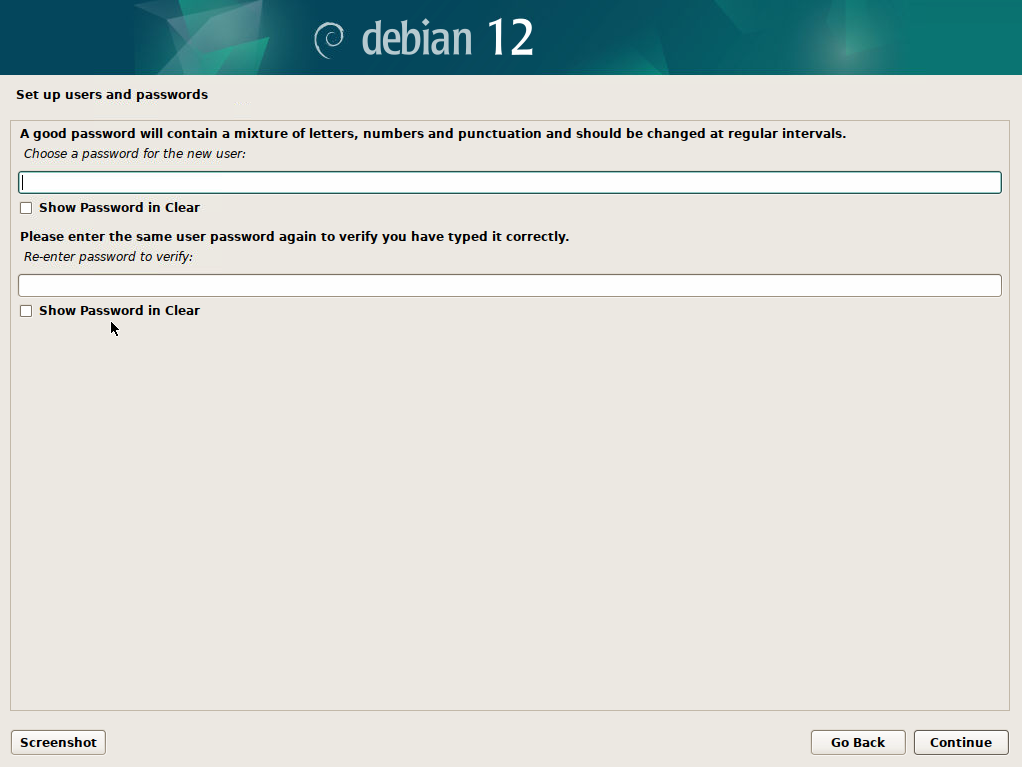
Step 9. User Password
- Set a password for the user created in Step 8
- 🔁 Can be reset later using root access
⏳ Upon clicking Continue, Debian will take a few moments to configure the system clock for the next step.
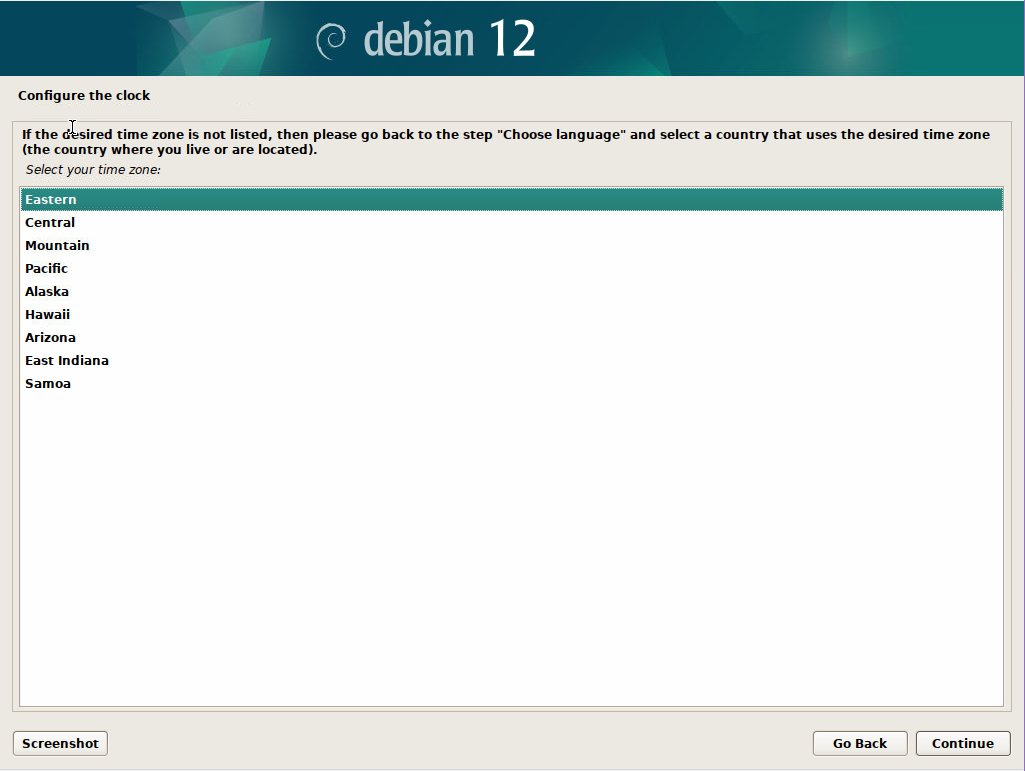
Step 10. Clock Configuration
- Select your timezone (e.g., Eastern Time)
💽 Disk Setup & Boot
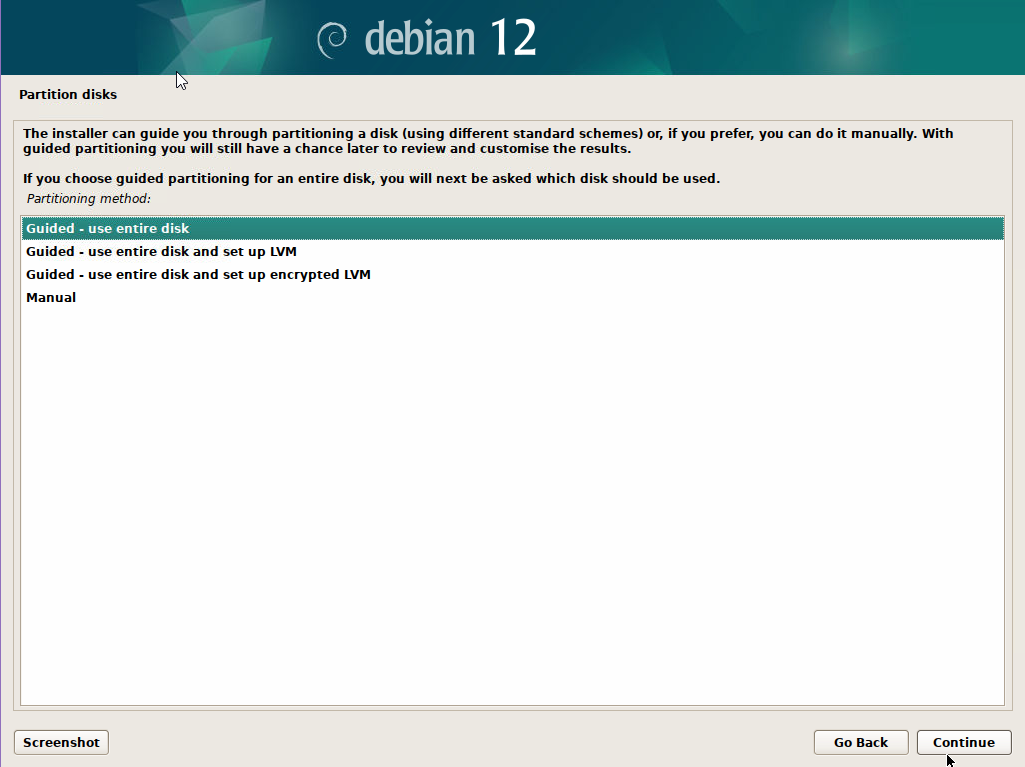
Step 11. Partition Setup
If you're prompted to force UEFI installation due to legacy partitions — select Yes and continue.
- Choose: Guided – use entire disk
- If installing the OS to a RAID array → Follow Special Case Step 11 – Install Debian to RAID
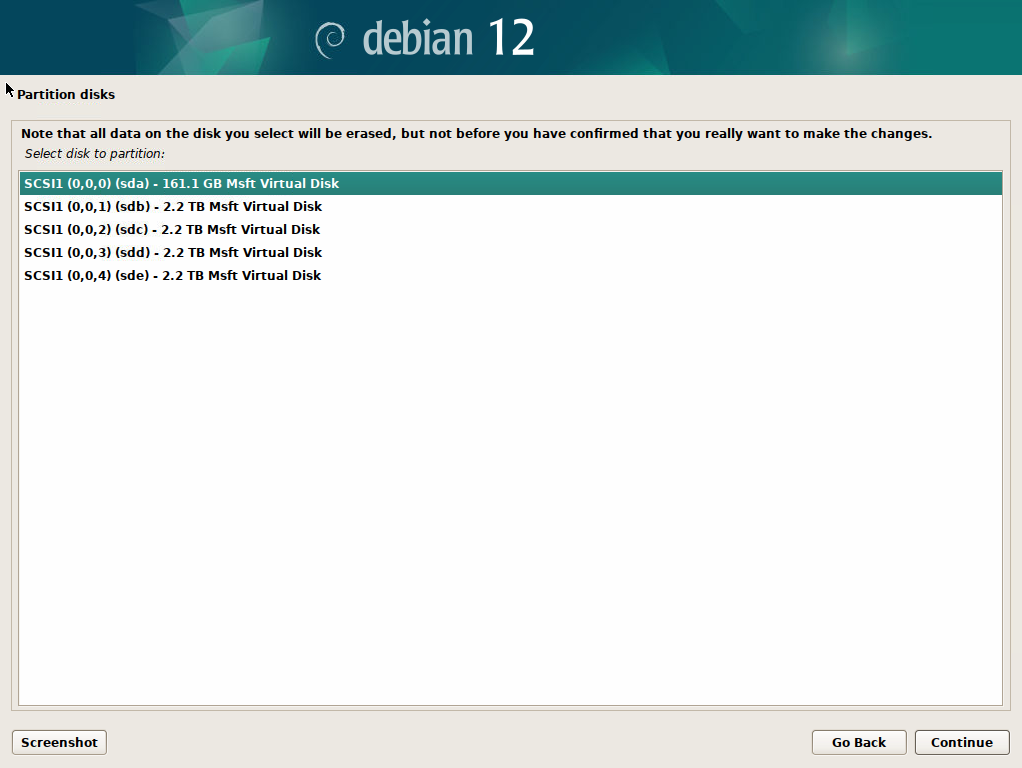
Step 12. Select OS Drive
- Choose your OS install drive — e.g.,
250.1 GB ATA Samsung SSD 860— normally a different size from your array drives.
💡 This will also be your boot drive in Step 23
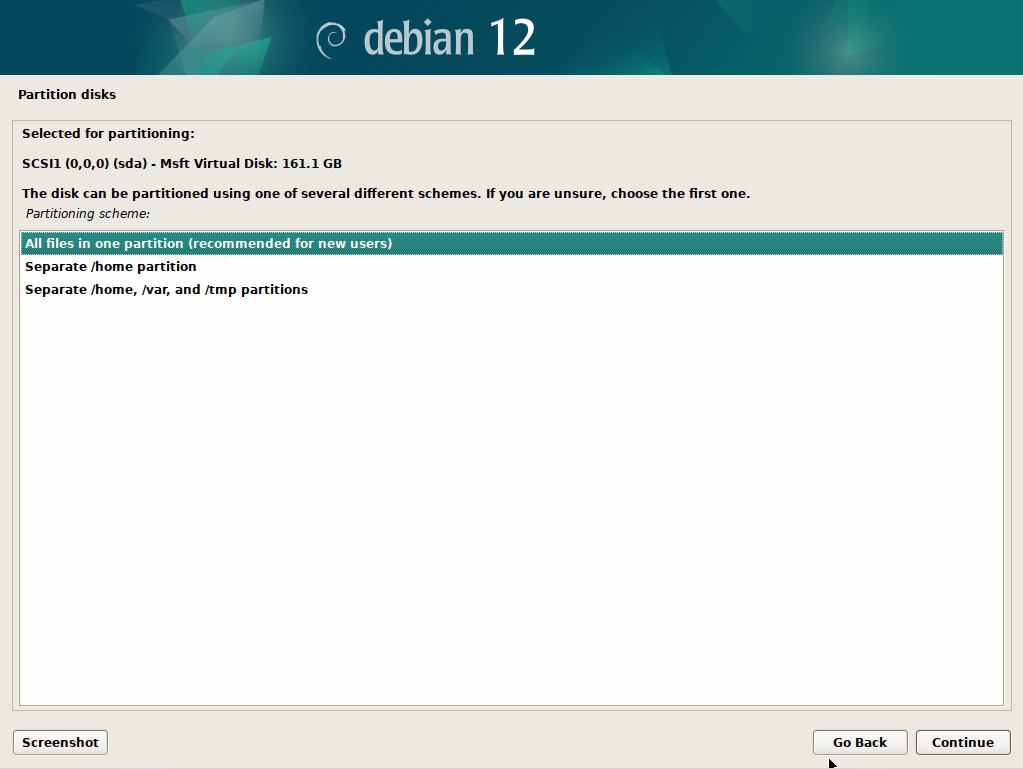
Step 13. Partition Layout
- Choose: All files in one partition (recommended for new users)
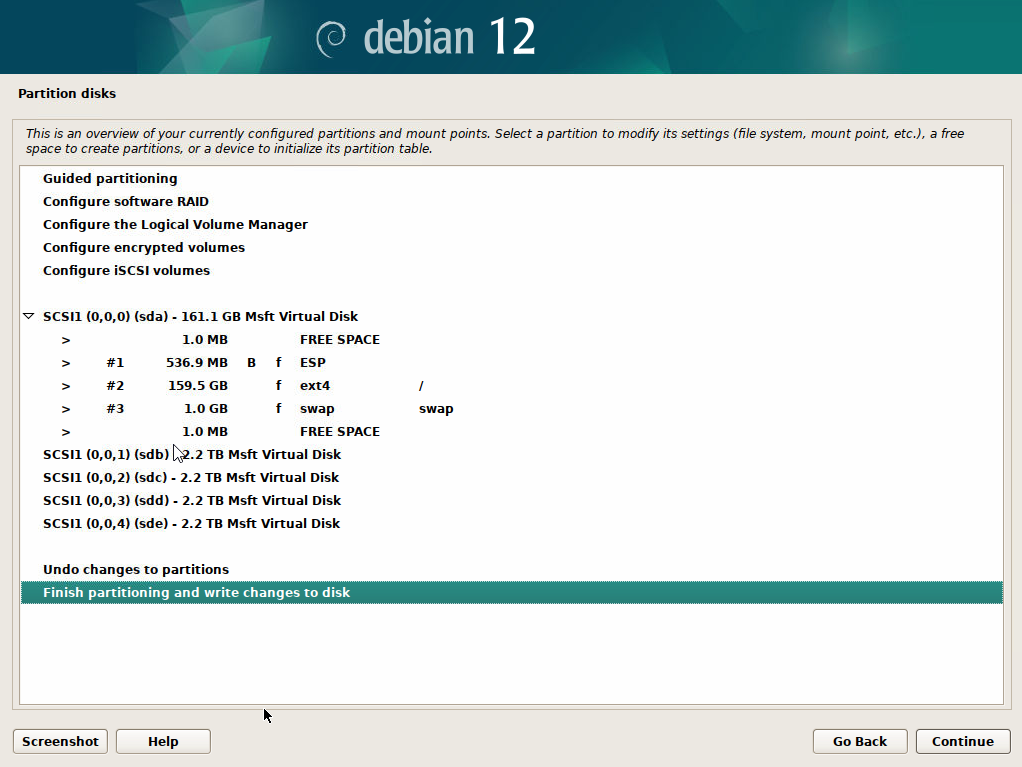
Step 14. Apply Partition
- Select Finish partitioning and write changes to disk
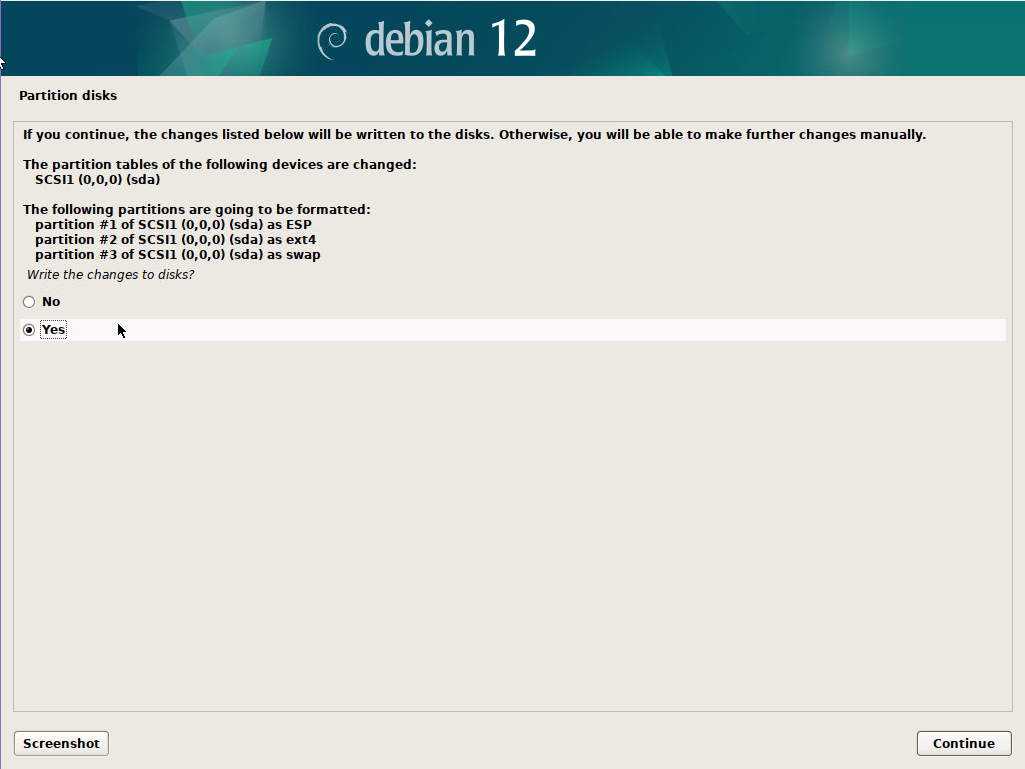
Step 15. Confirm Partitioning
- Confirm changes and proceed
- ⏳ Debian will now install the base system
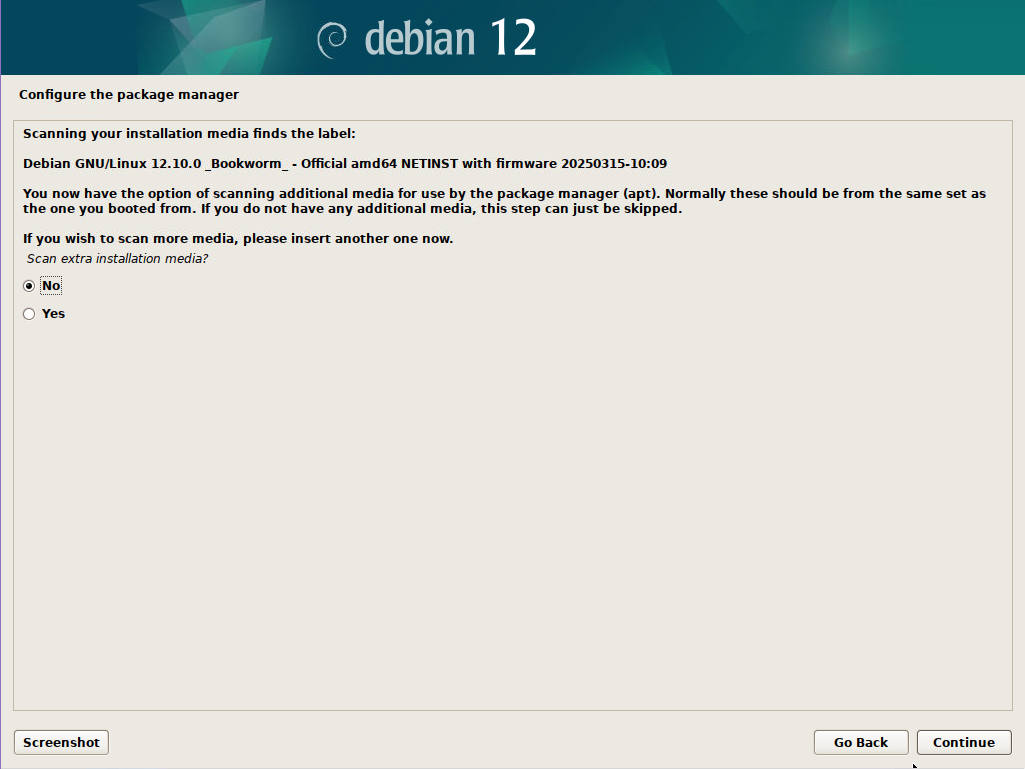
Step 16. (Optional) Scan for CD/DVD
- Skip this step if prompted (it may not appear)
📦 Package Manager & Software
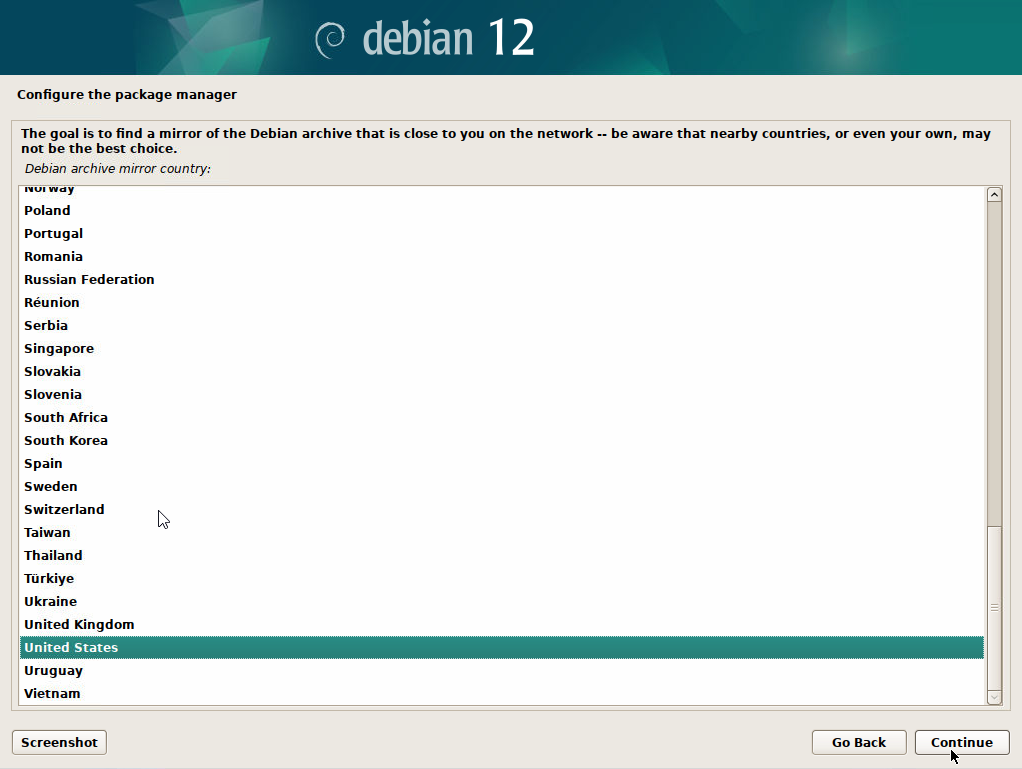
Step 17. Configure Package Manager
- Choose your country (United States)
🧩 RAID users: If returning here after special RAID setup, resume from this step.
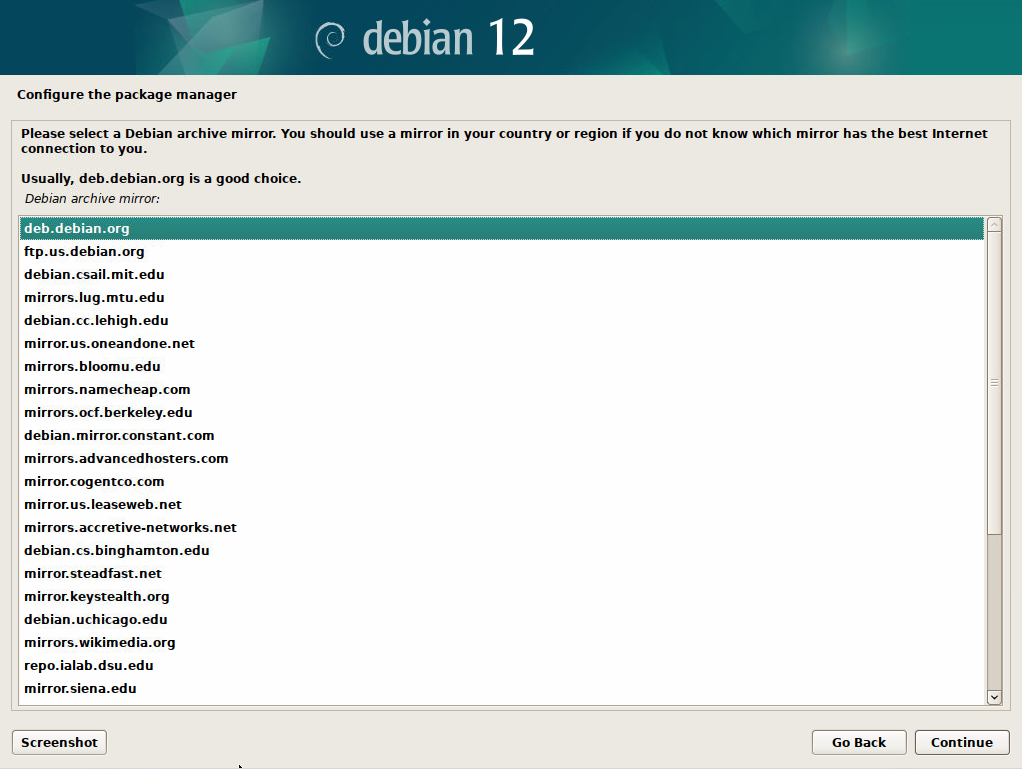
Step 18. Mirror Selection
- Select: deb.debian.org
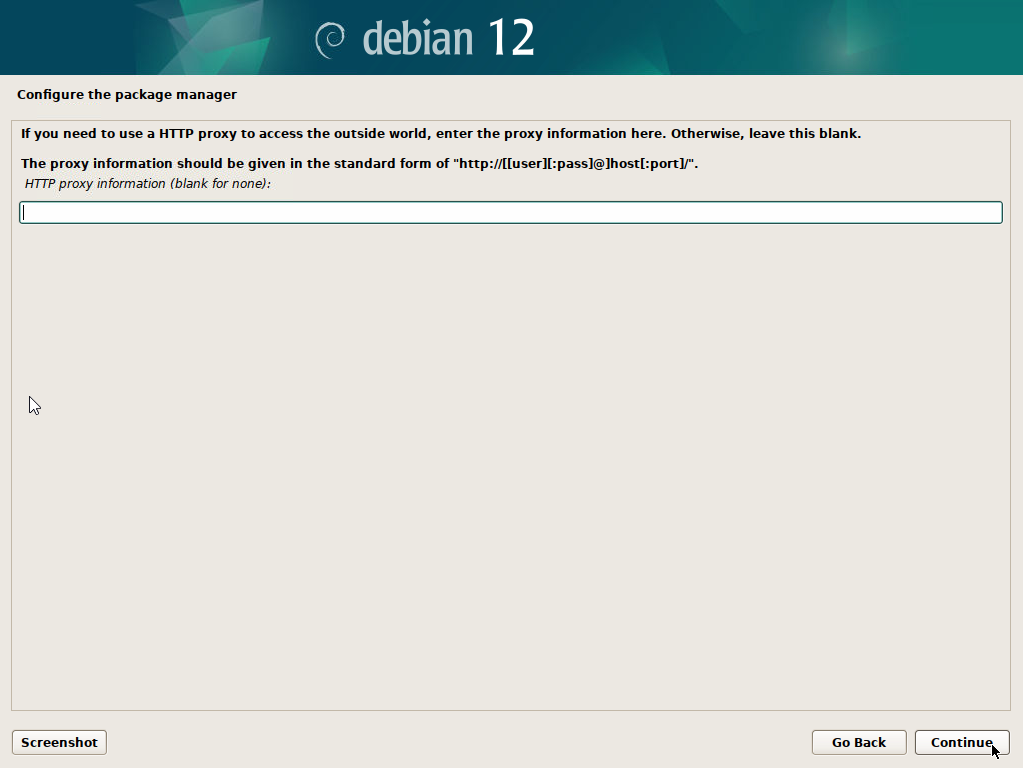
Step 19. HTTP Proxy
- Leave proxy field blank and press Continue
🕸️ If this fails, double-check your network connection.
⏳ Debian will now configure the apt package manager.
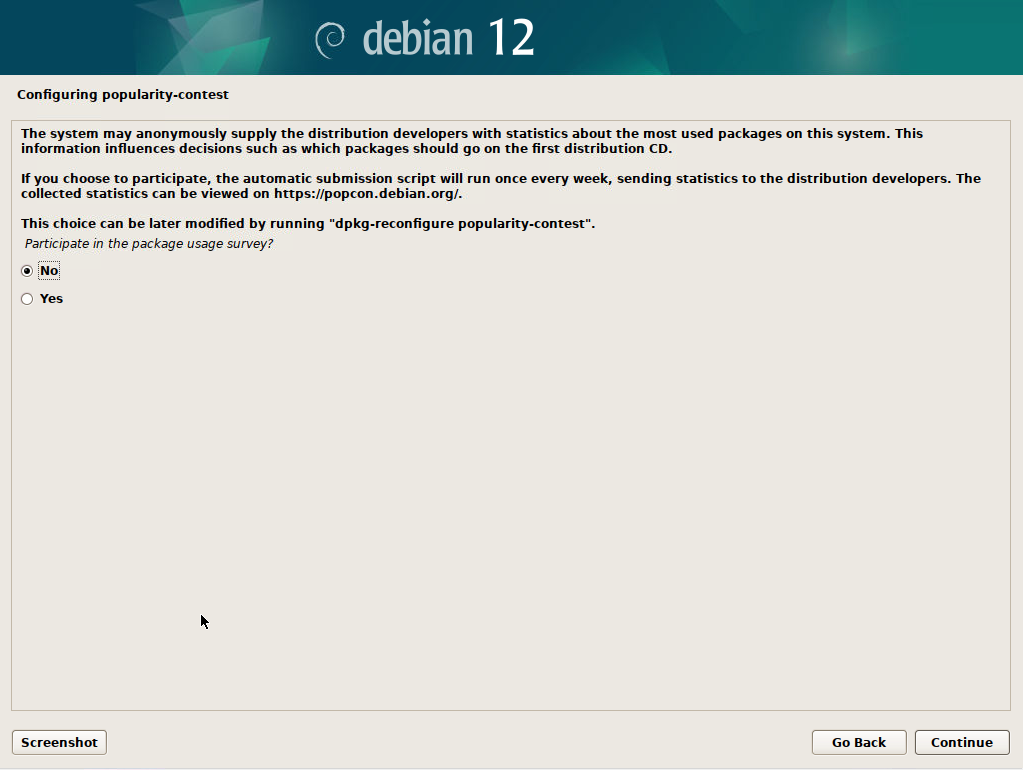
Step 20. Survey Participation
- Choose based on your preference
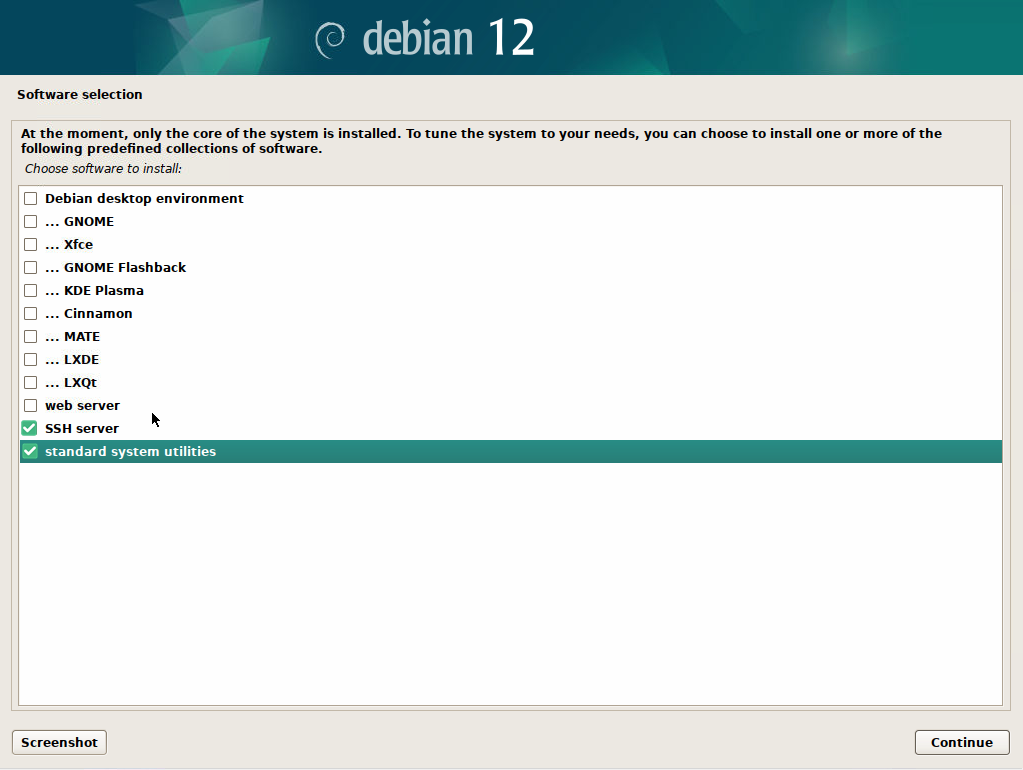
Step 21. Software Selection
✅ Select only:
- SSH server
- Standard system utilities
❌ Deselect: Debian desktop environment, GNOME, or any other options aside from these two (if selected)
⏳ Debian will now finish the installation of the selected packages.
🧱 Final Steps
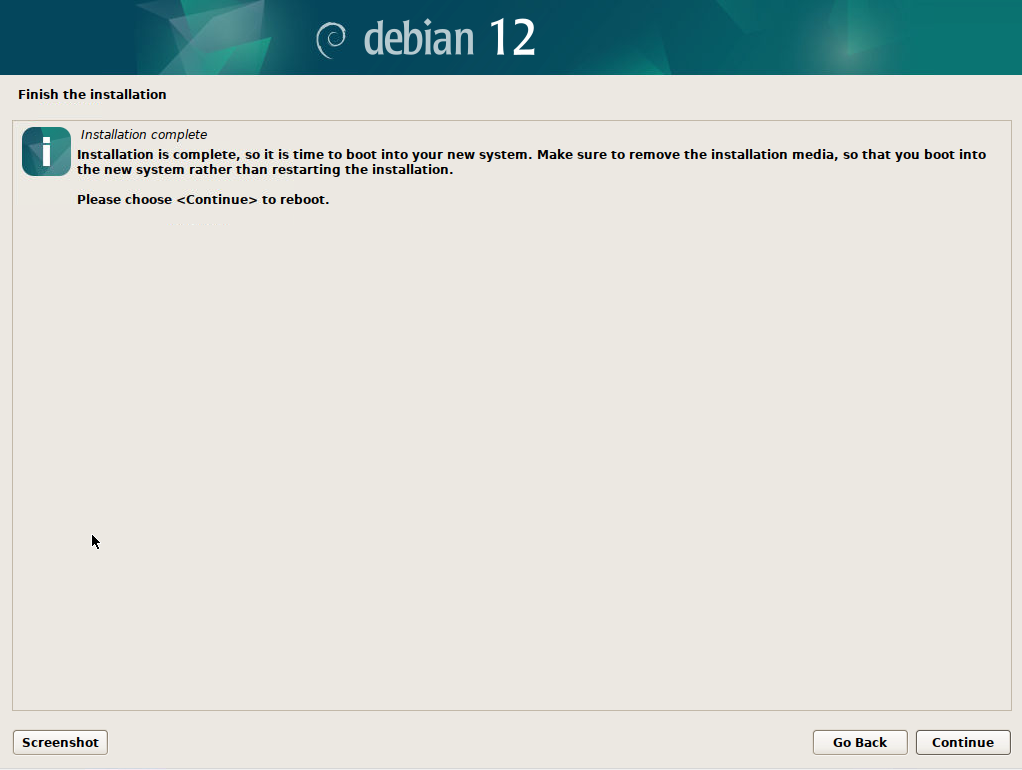
Step 22. Restart Server
- Remove the USB 💽
- Click Continue
Step 23. Confirm Installation
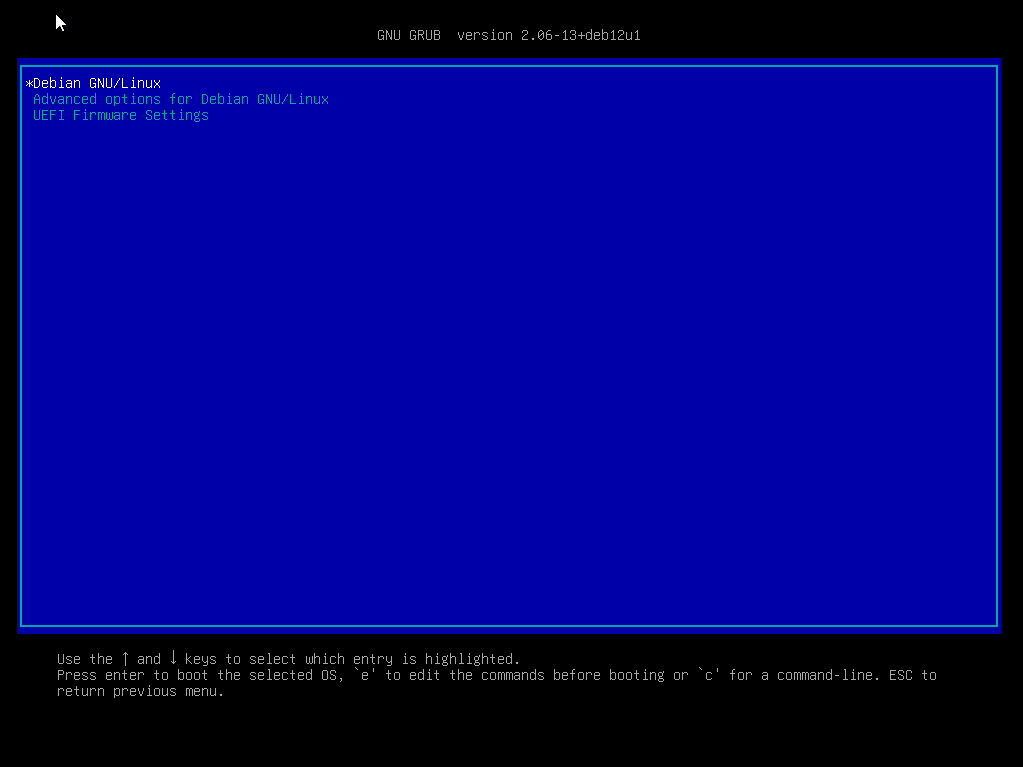
The server will now restart and display the GRUB menu.
- The default option of Debian GNU/Linux will be selected after 5 seconds.
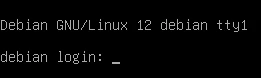
- After boot, you should see the console login prompt:
Debian GNU/Linux 12 ggrock tty1 ggrock login:
🎉 That’s it! Debian is now installed and you are now ready to Install the ggRock Server Application.
Installation path · Step III of VIII