

 Español
 中文
 العربية
IV. - 🖥 Install the ggRock Server Application
🖥️ Access the Server Console
- Connect to the server via:
- Direct keyboard/mouse/monitor
- SSH
- Debian Control Panel
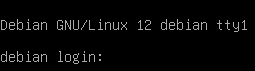
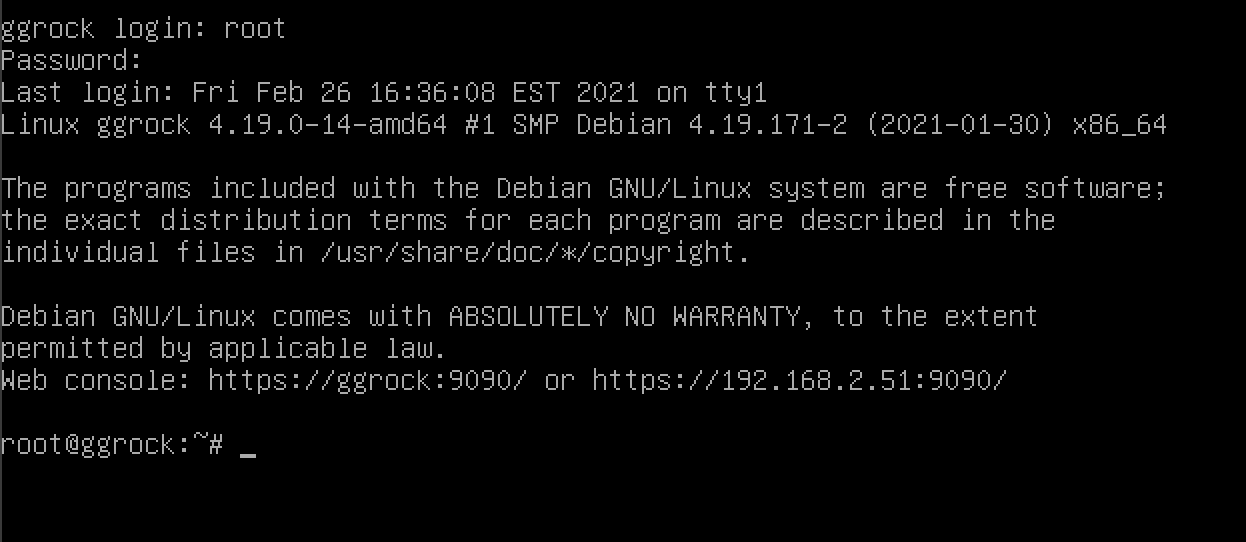
- Log in as the
rootuser or another administrative user. You should see the prompt:
root@ggrock:~#
🔐 Note: Ensure CAPS LOCK is off if login fails.
⚙️ Run the ggRock Automated Install Script
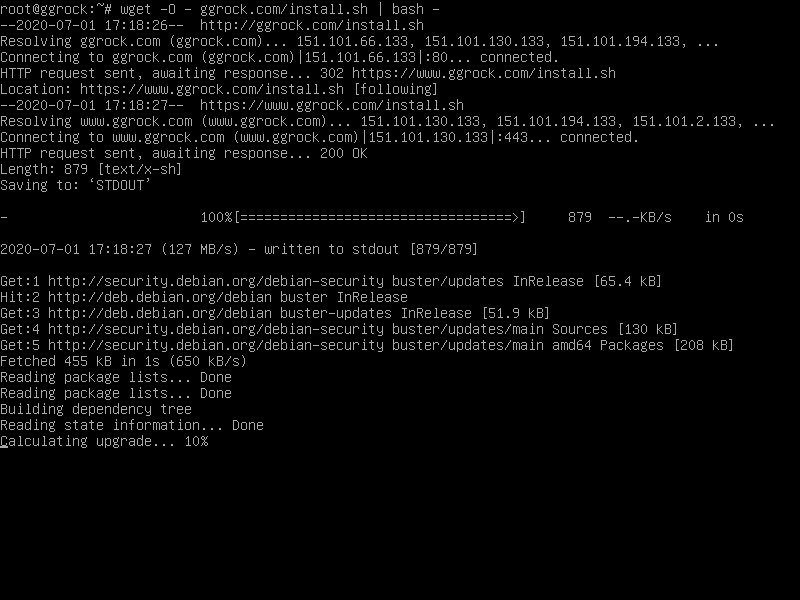
- Enter the following command at the root prompt:
wget -O - https://www.ggrock.com/install.sh | bash -
⚠️ Important:
- The
Ois a capital letter, not the number zero. - Spaces and formatting must be exact.
- If using SSH or the Debian Control Panel, feel free to copy/paste.
📦 Automated Installation (Sit Back & Relax 😎)
- The script will now install ggRock and its dependencies. This takes 10–15 minutes depending on server and network speed.
☕ Grab a coffee — you’ve earned it!
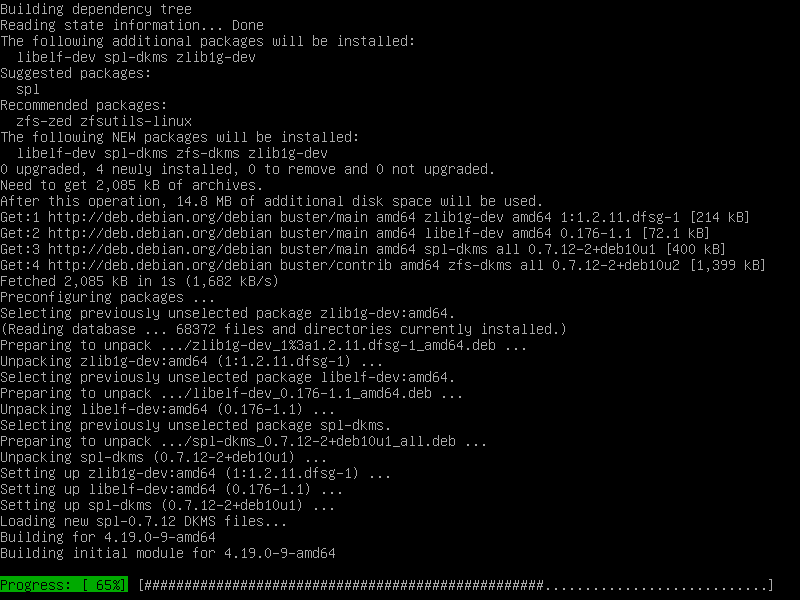
- After successful installation, you'll see a message with a local address like:
[http://your.server.ip.address.here/](http://your.server.ip.address.here/)
🌐 This is your access point for the ggRock Web UI.

- Reboot the server:
reboot

🌐 Update Network Configuration
- Log back into the server console as root.
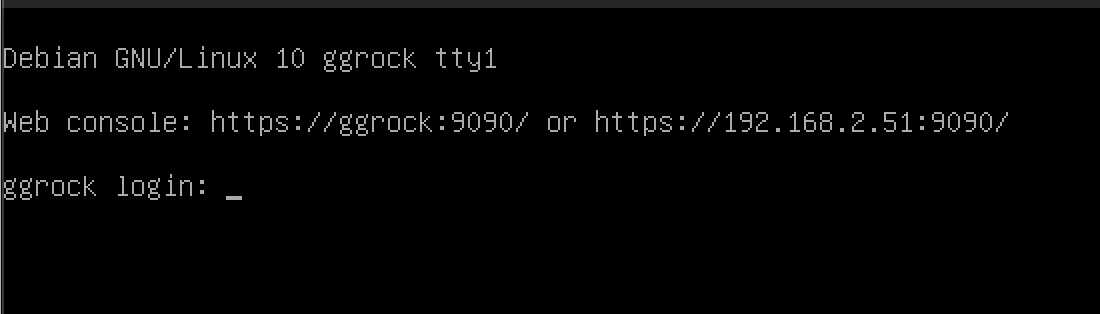
- Back up your current network config:
cp /etc/network/interfaces /etc/network/interfaces.bak

- Open the file for editing:
nano /etc/network/interfaces
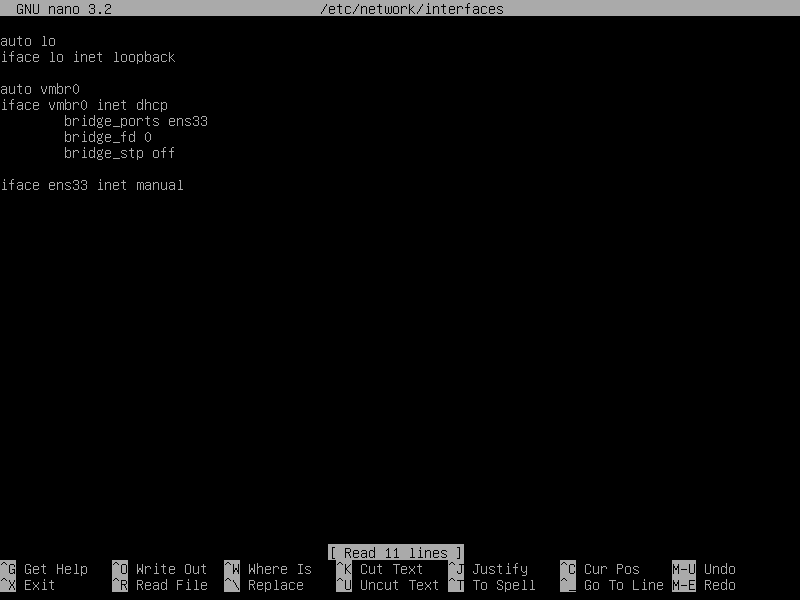
- Replace:
auto vmbr0
iface vmbr0 inet dhcp
With:
auto vmbr0
iface vmbr0 inet static
address SERVERIP
netmask NETMASK
gateway GATEWAY
📌 Replace placeholders with actual values based on your network setup.
Then ensure your file resembles:
auto lo
iface lo inet loopback
auto vmbr0
iface vmbr0 inet static
address SERVERIP
netmask NETMASK
gateway GATEWAY
bridge_ports ens33
bridge_fd 0
bridge_stp off
iface ens33 inet manual
🔍
ens33may differ based on your server — adjust accordingly.
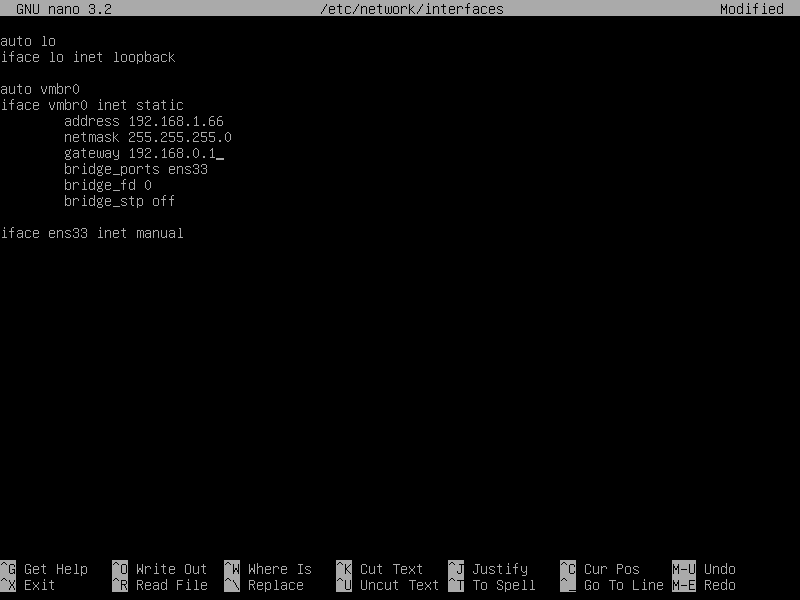
- Save and exit:
PressCTRL + X, thenY, then Enter.
🌍 Update DNS Configuration
- Back up your DNS config:
cp /etc/resolv.conf /etc/resolv.conf.bak
- Open the DNS file:
nano /etc/resolv.conf
- Replace:
nameserver 192.168.1.1
With:
nameserver 8.8.8.8
nameserver 8.8.4.4
- Save and exit:
PressCTRL + X, thenY, then Enter.
- Reboot the server again:
reboot
🧰 Run the ggRock Linux Configuration Utility
💡 TIP: You can launch the configuration utility at any time using:
ggrock-linux-configurator
- Log back into the server console as root.
🔎 Note: If your server has multiple active network interfaces, you’ll see steps 4–9. If not, skip ahead.
- Run the
ggrock-linux-configuratorcommand.
🎉 Installation Complete!
✅ You're now ready to proceed to the “First-Time Setup and Accessing the ggRock Server Application” guide.
🧠 Optional: To manage ggRock remotely, check out the Access Debian Control Panel article.
Installation path · Step IV of VIII