

 Español
 中文
 العربية
How to Install ggLeap to ggRock Machine
Exit
Language:
English
This article describes steps necessary to install the ggLeap client to a ggRock Machine.
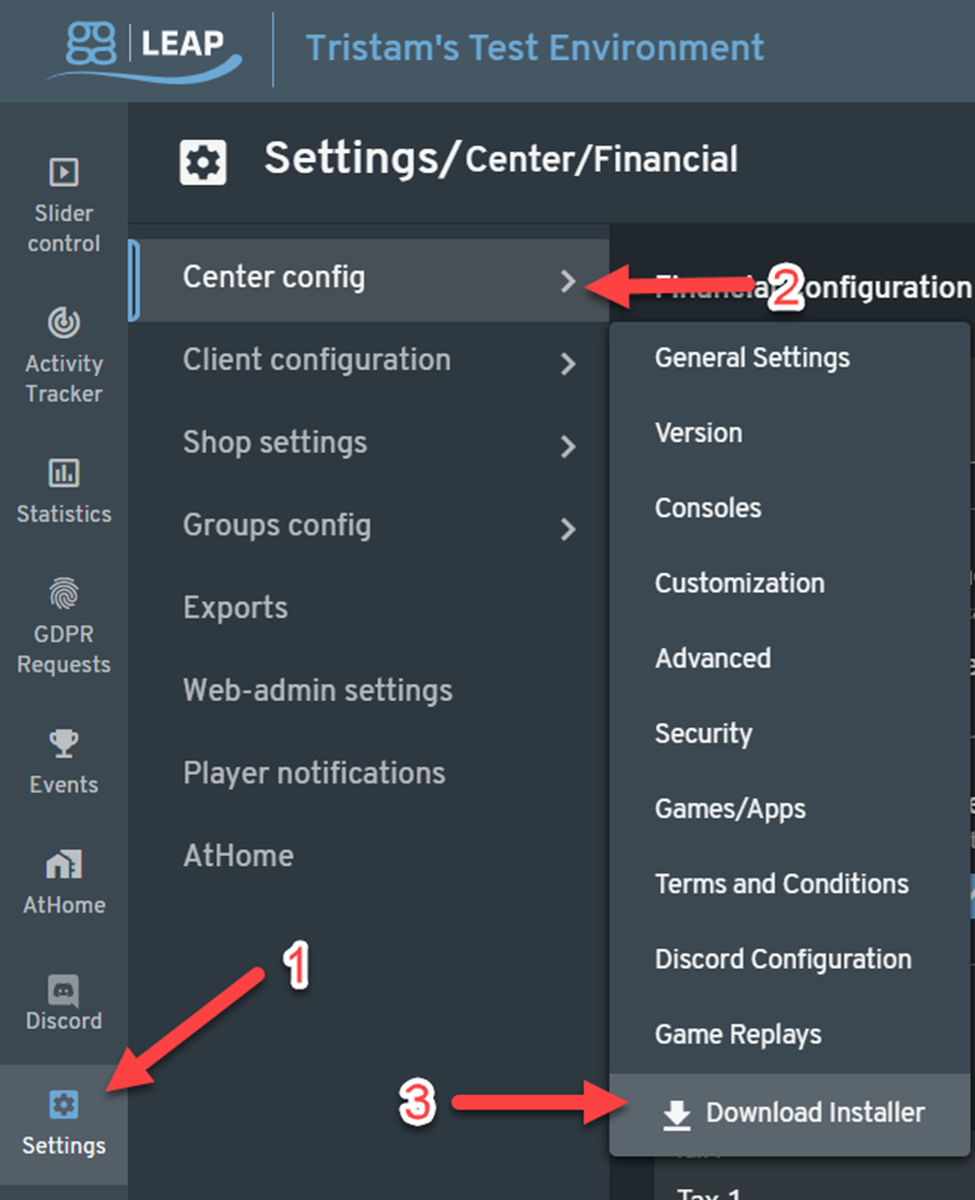
Login to the ggLeap webadmin and download the ggLeap installer.
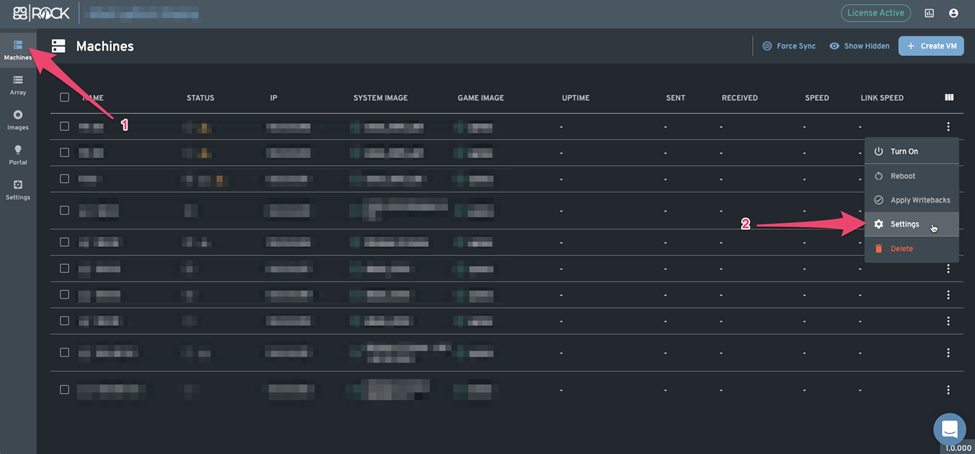
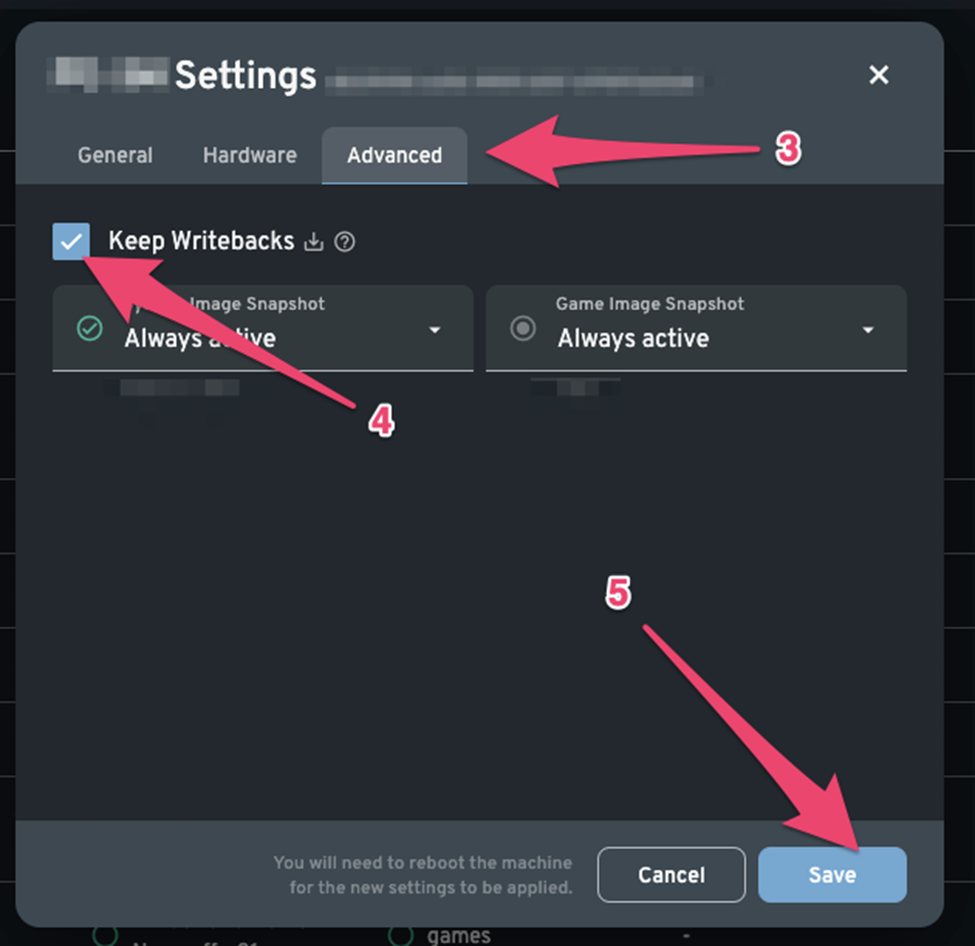
- Login to the ggRock Web UI and enable the "Keep Writebacks" setting on the machine where we are going to install ggLeap.
-
Turn on this machine
-
Run the ggLeap installer that was downloaded from the webadmin
-
Enter your webadmin employee credentials (employee should have Can connect machines permission)

-
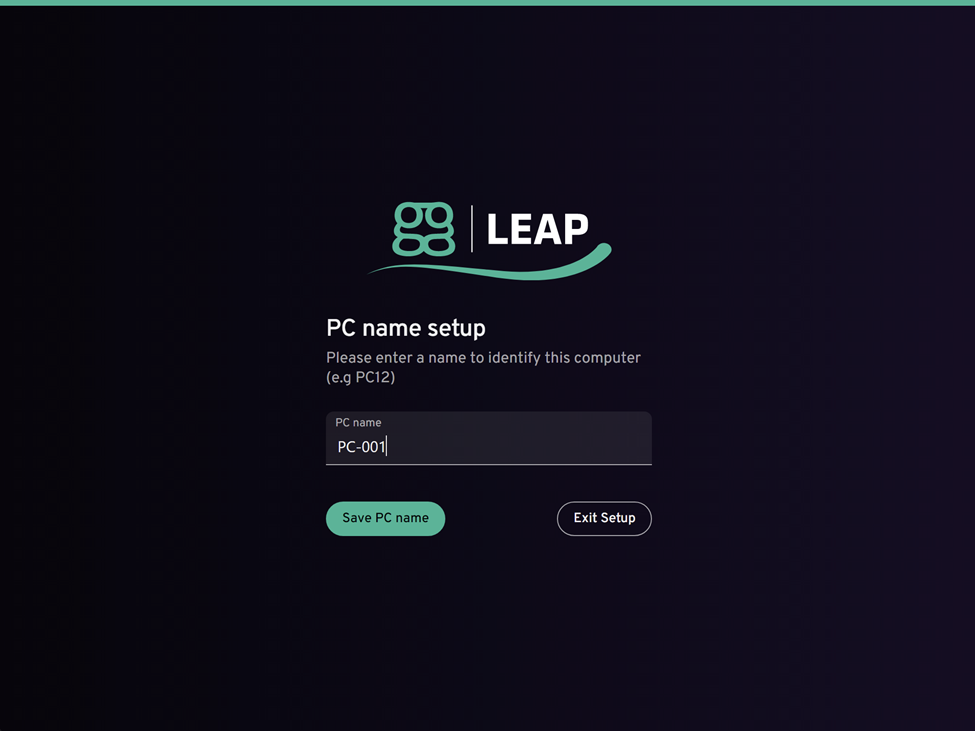
You will be asked to assign a name to this PC
-
The PC will connect to ggLeap servers
-
This PC should now show up in your webadmin dashboard, then the PC will reboot.
-
ggLeap will now start in shell mode, and will download all the required files.
-
You may shutdown the machine when you see the login page.
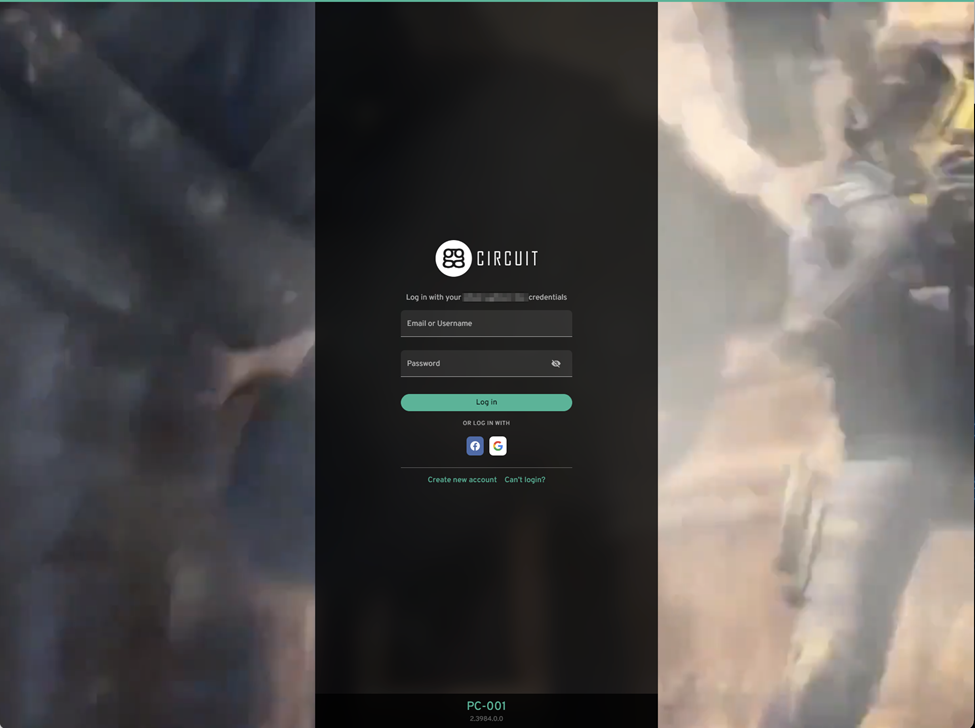
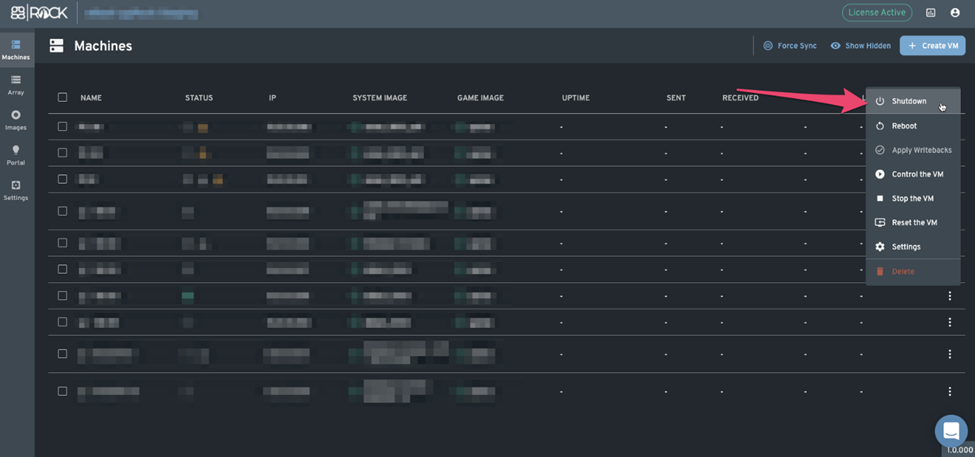
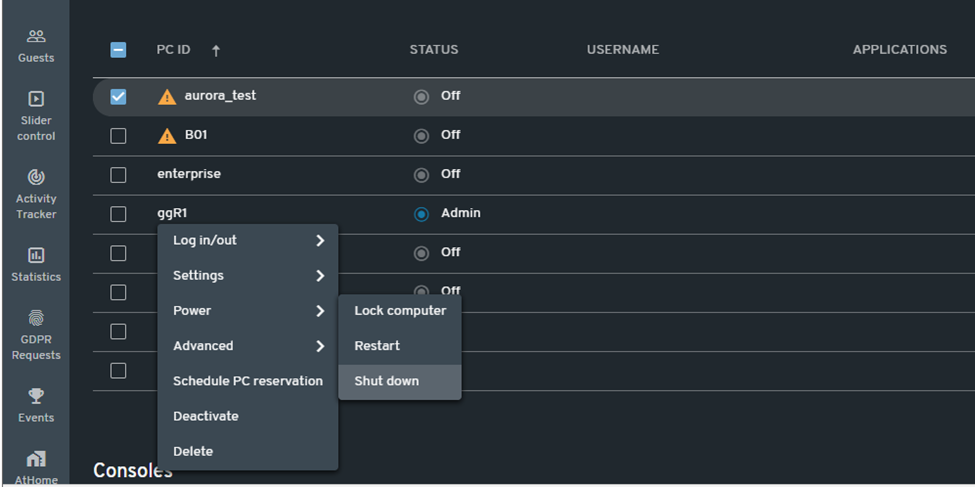
- Go back to ggRock UI, or Webadmin and shut down this machine.
OR
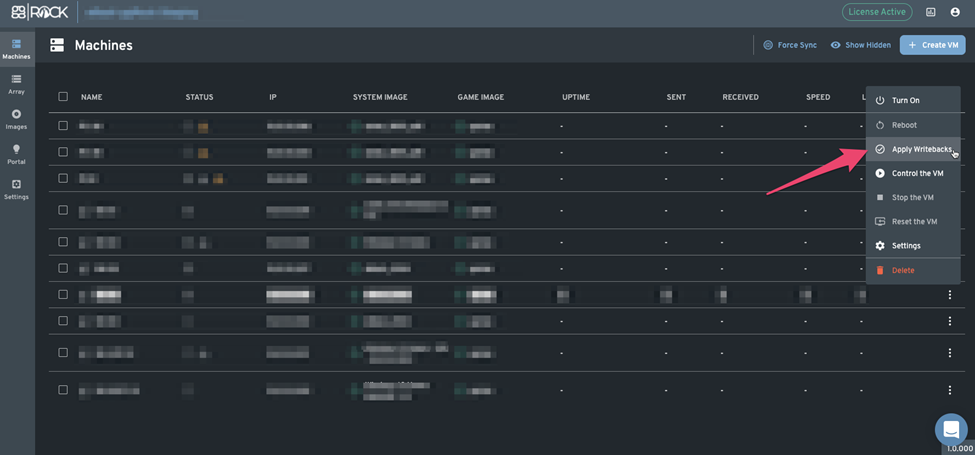
- From the ggRock Web UI, select apply writebacks in the context menu of the system you just shut down
Add comment to the writeback and click apply.
- Turn on the the other machines and assign their PC names when they boot up the first time.
Was this article helpful?
More in Creating & updating images
- Adding a New Machine Type to a ggRock Image using the ggRock IC Tool (Legacy Process)
- Adding a New Machine Type to a ggRock Image using the ggRock Image Creation Tool (Deprecated)
- Adding a New Machine Type to a ggRock Image using the ggRock Seamless Boot Procedure
- ggLeap Startup Commands with Diskless Boot
- ggRock Image Creation Tool Manual (Deprecated)