

 Español
 中文
 العربية
How to install the ggRock Standalone Client
The intention of this guide is to provide a walkthrough of the installation process for the ggRock Standalone Client.
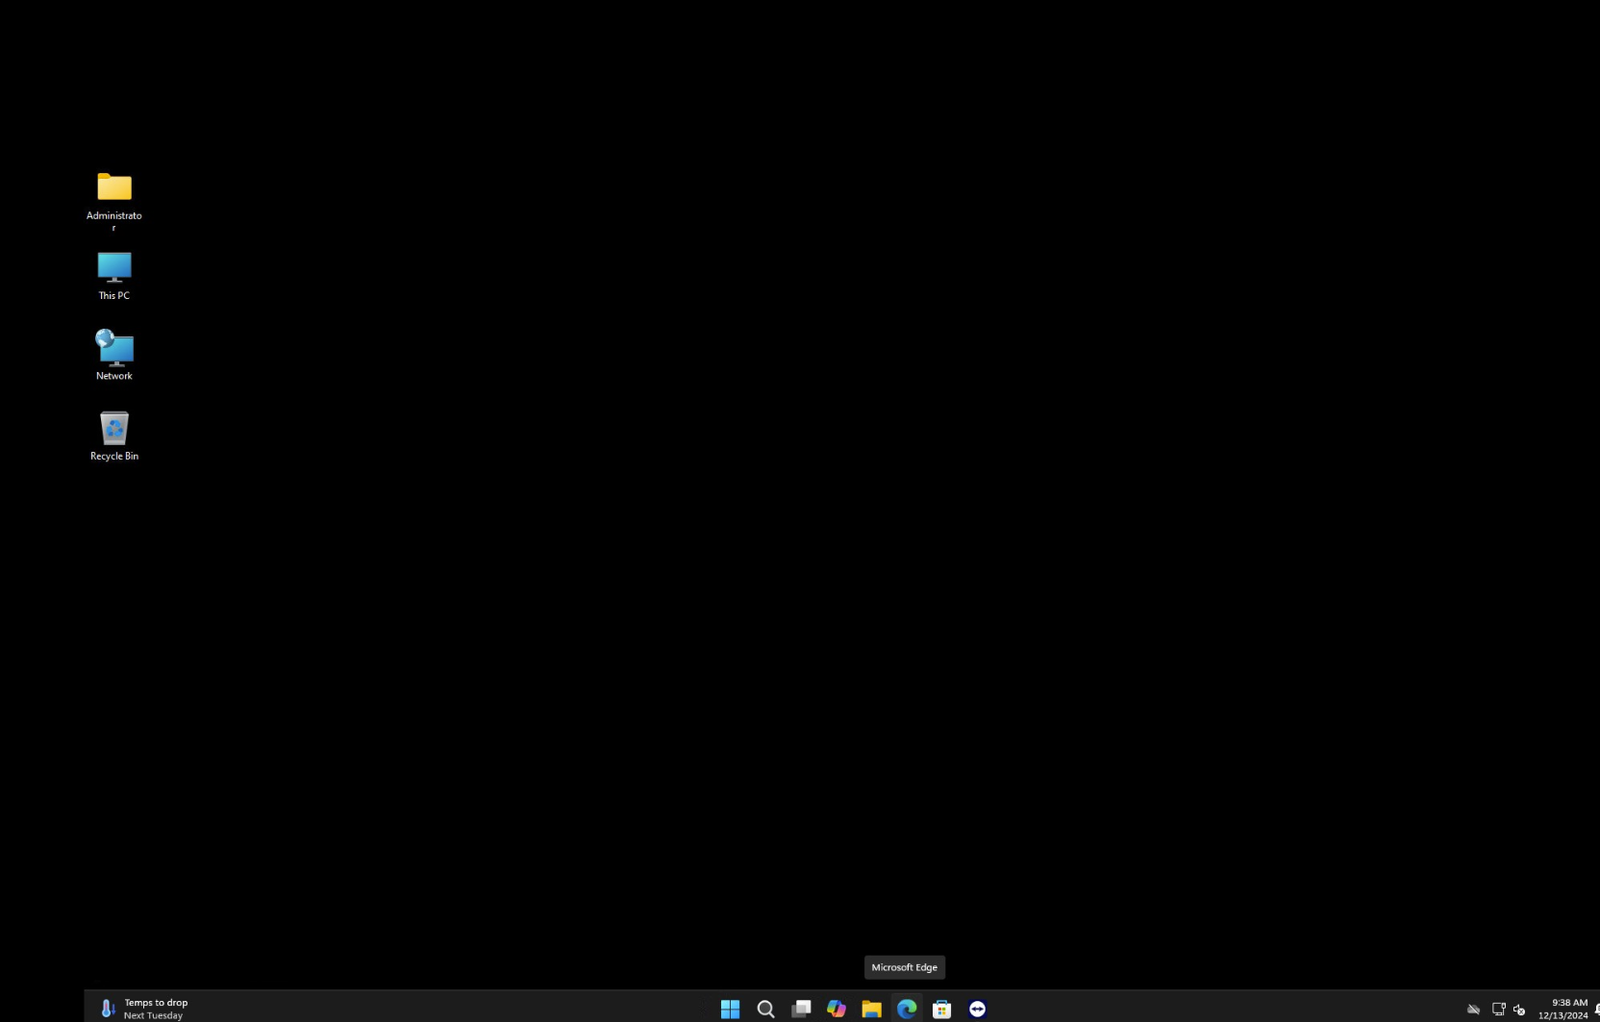
1. Launch a Web Browser
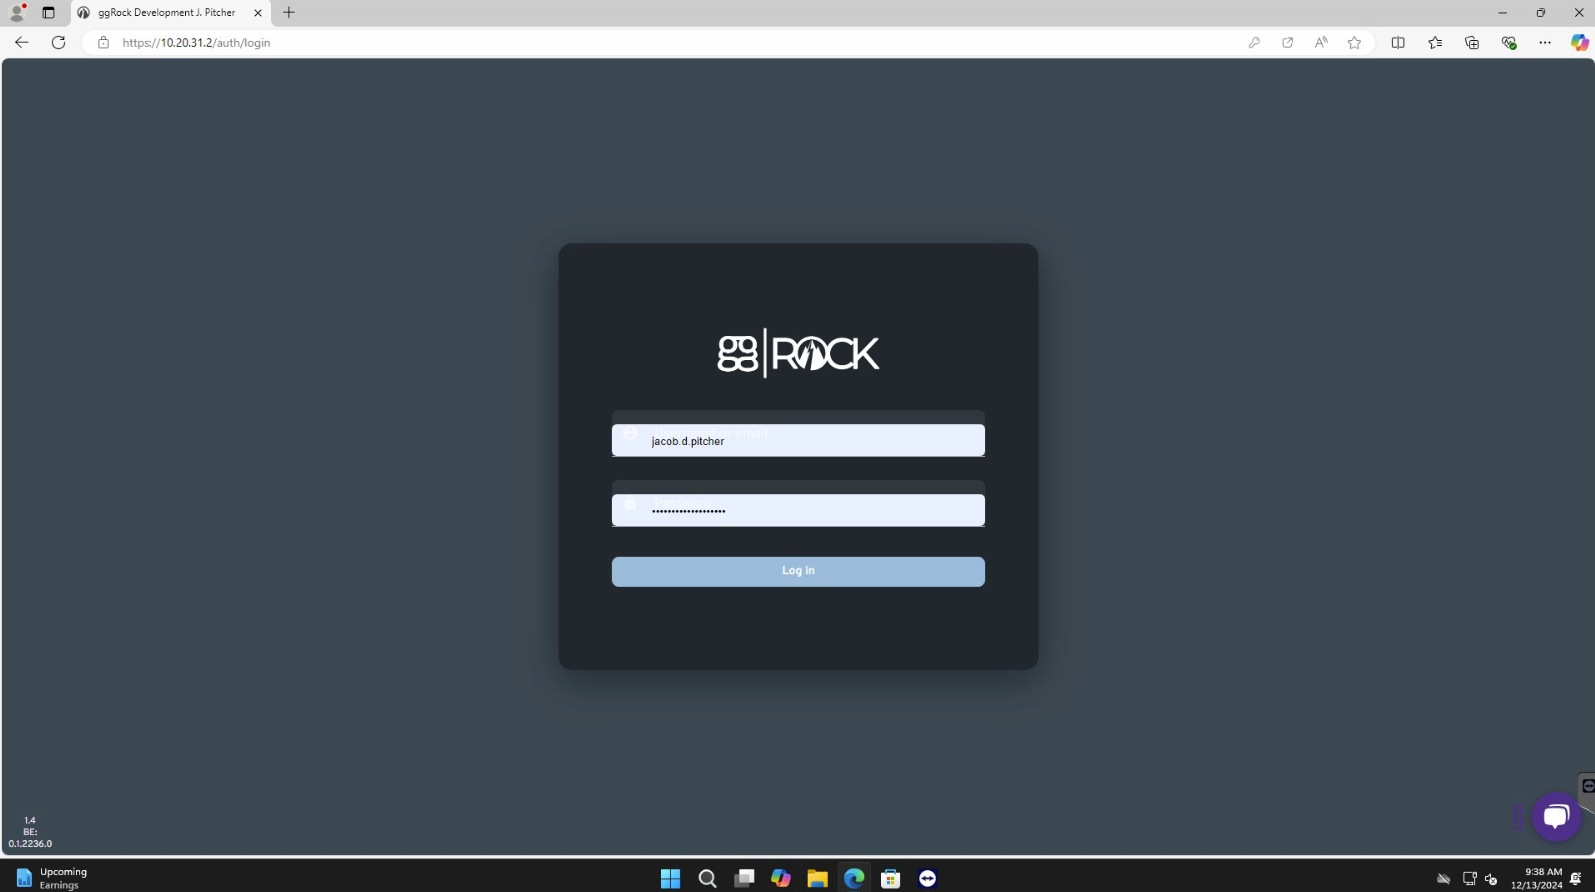
2. Visit ggRock Webadmin
Access the login page of your ggRock Webadmin.
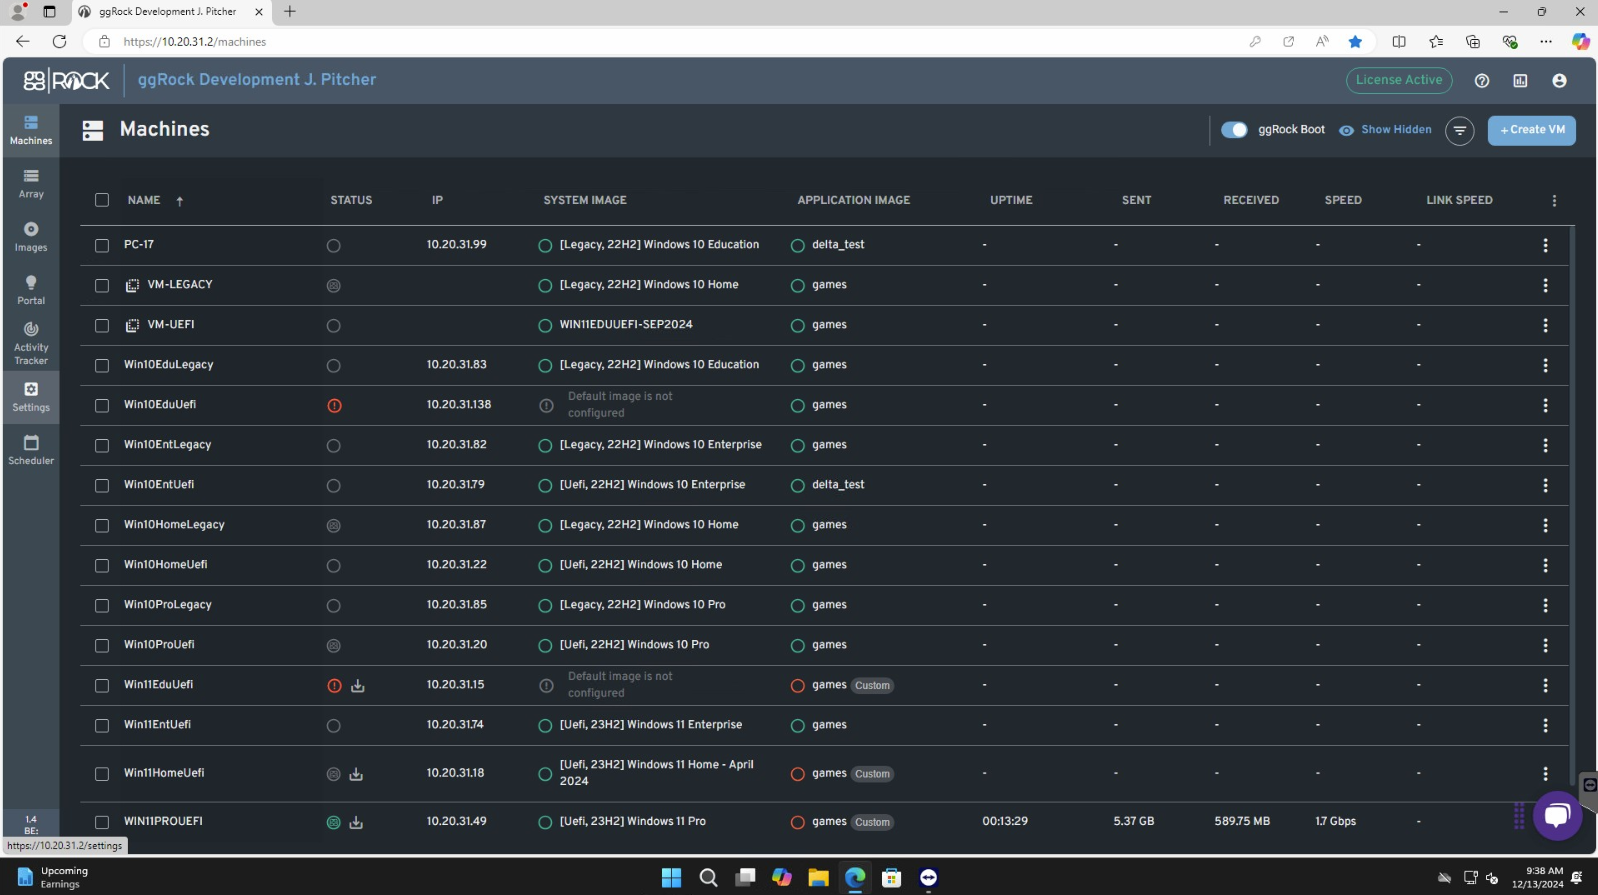
3. Access ggRock Settings
Click the "Settings" toolbar button.
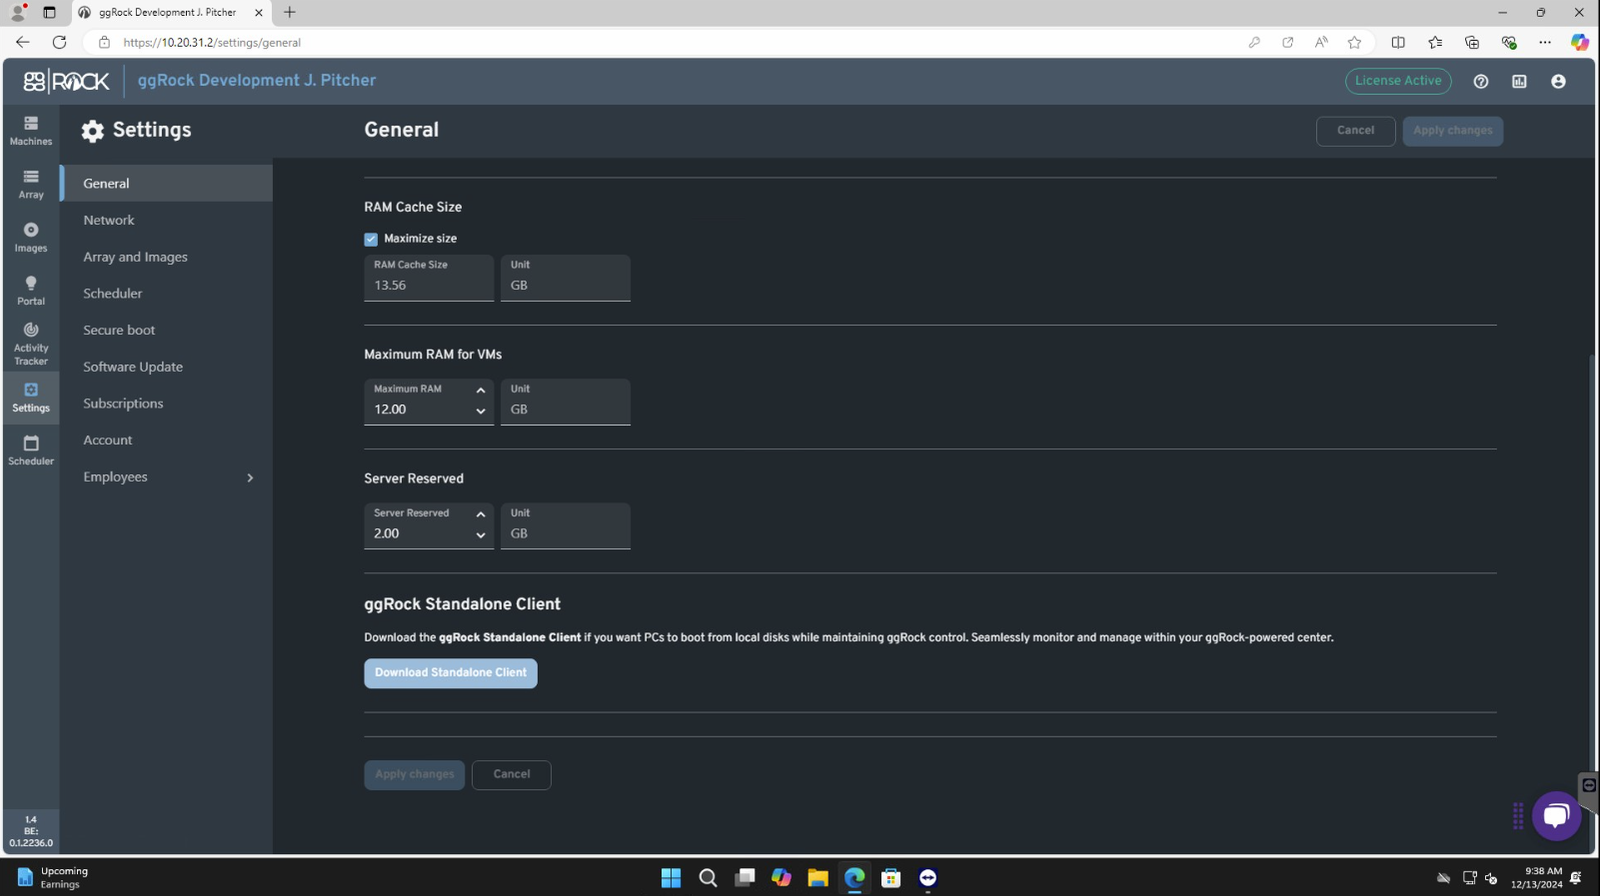
4. Download ggRock Standalone Client
Scroll to the bottom of the "General" tab within "Settings" and click the "Download Standalone Client" button.
5. Open the Downloads Folder
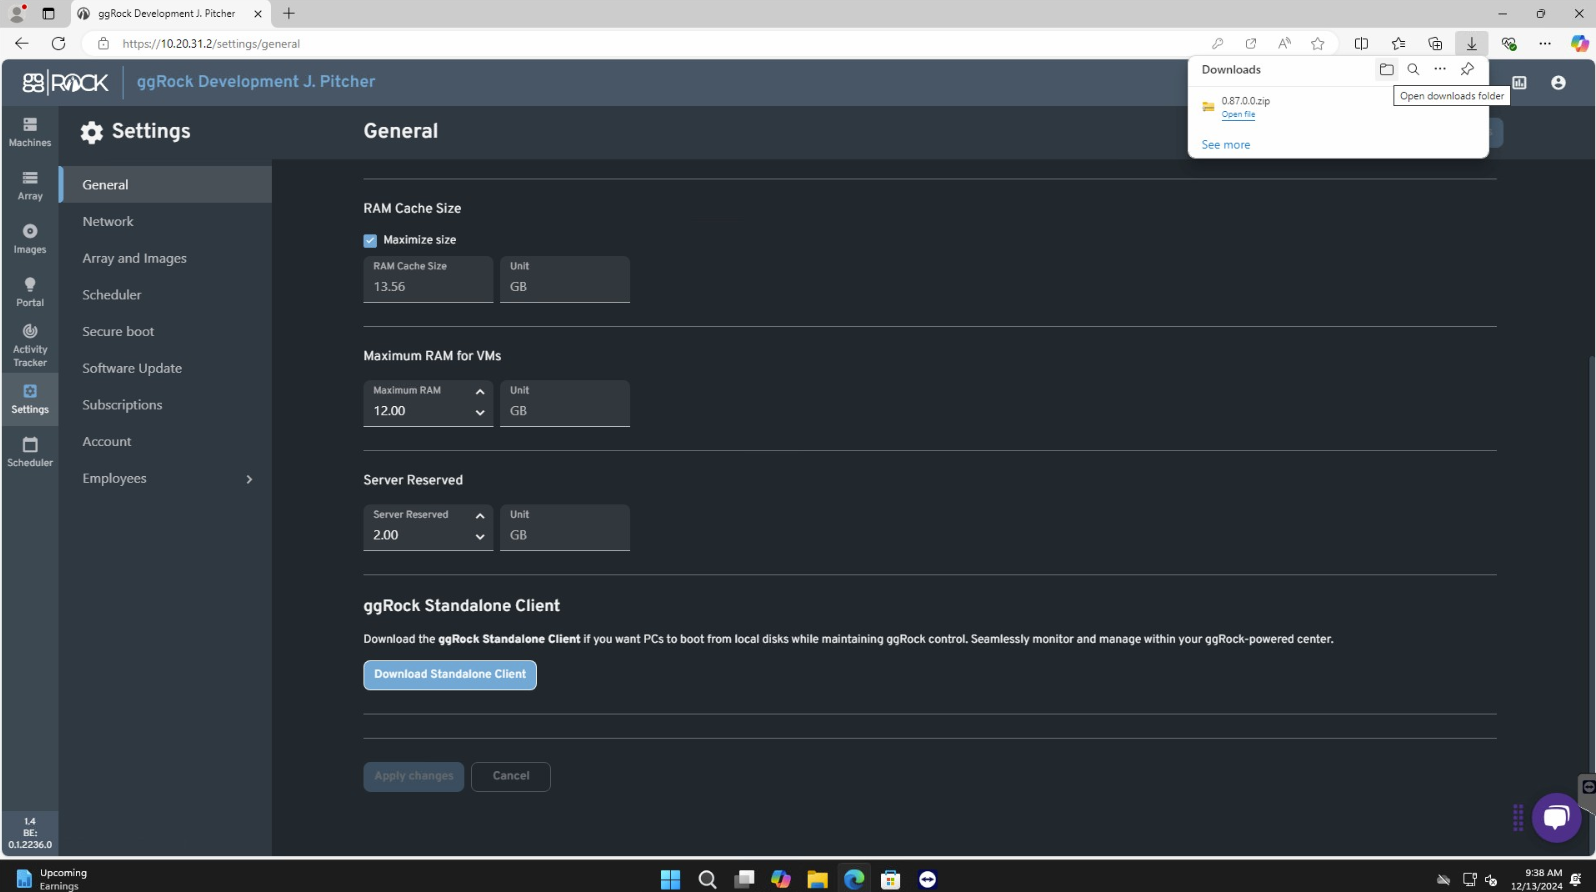
6. Extract the Archive
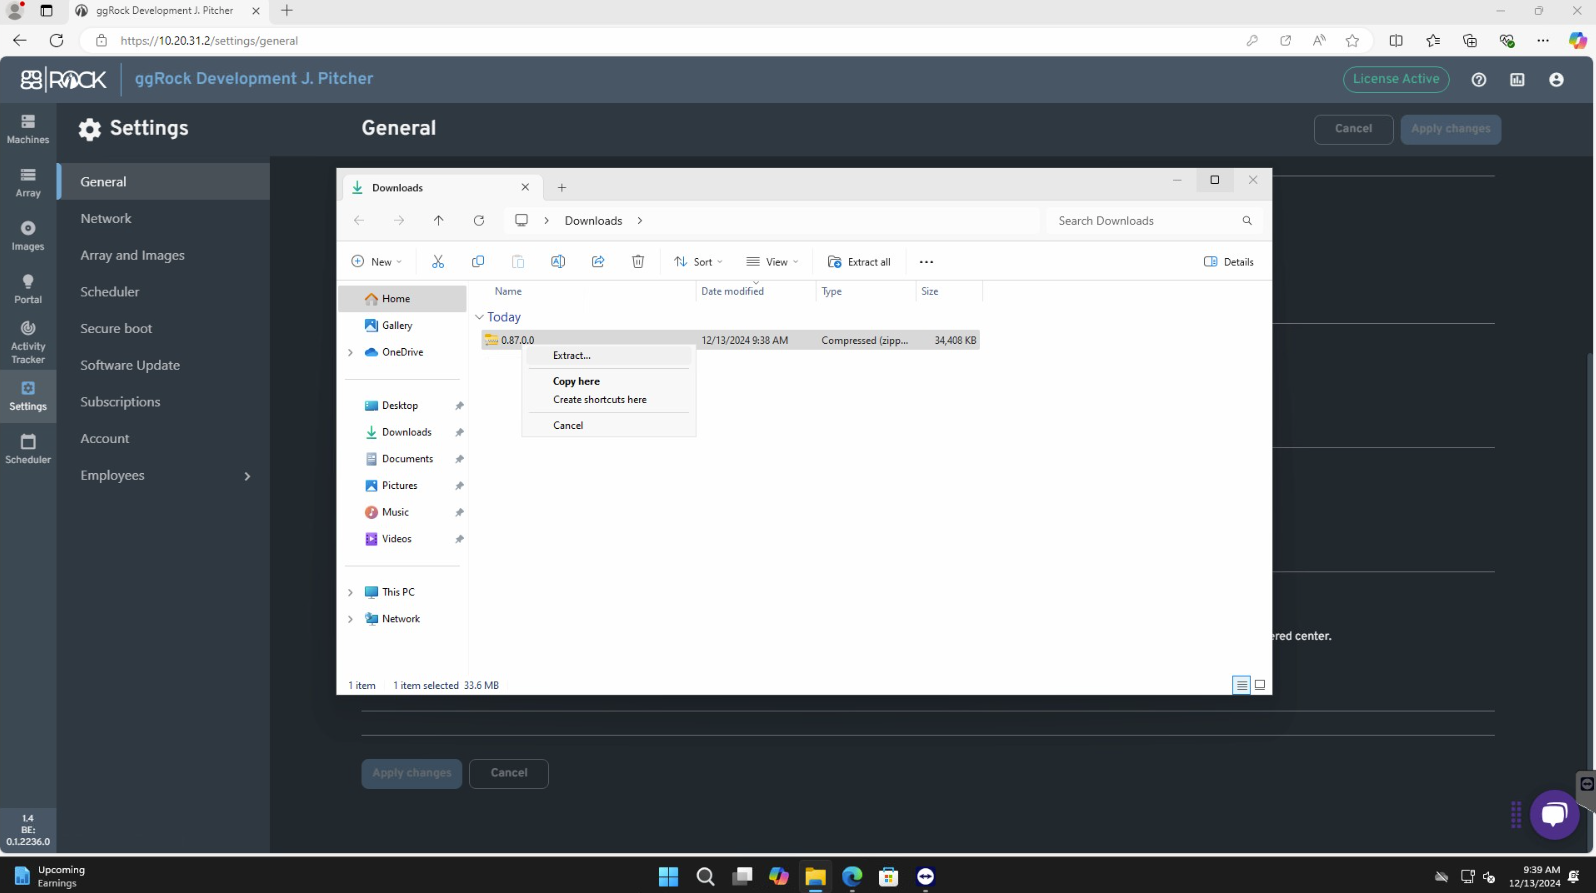
7. Extract the Archive
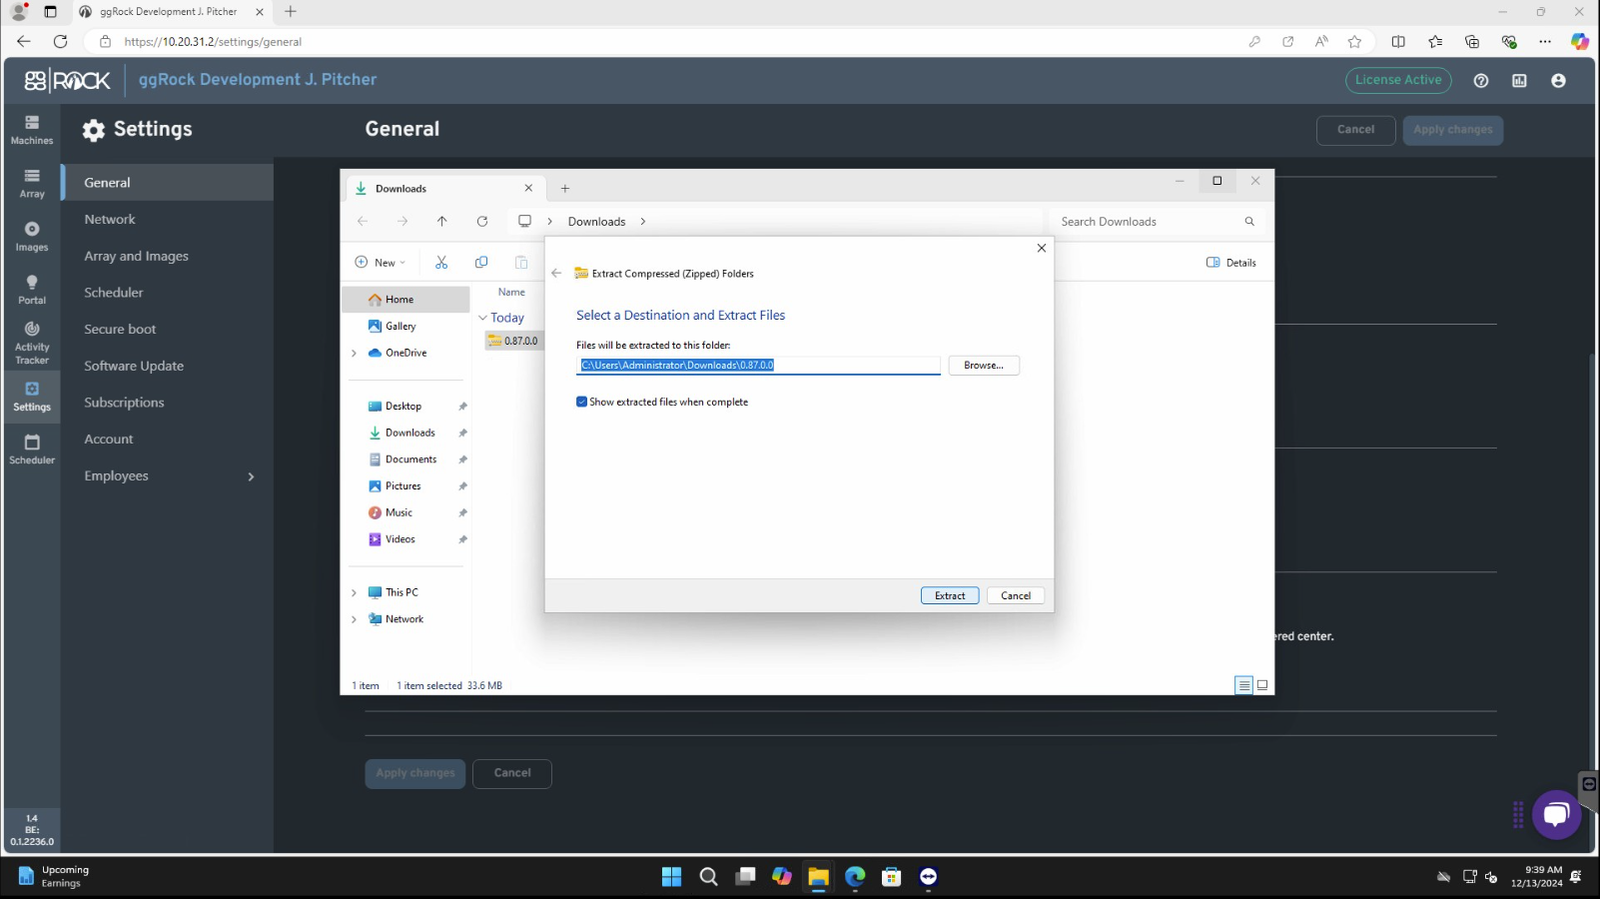
8. Launch the ggRock Client Executable
Scroll down in the extracted folder, then double-click the ggRock.Client.exe executable.
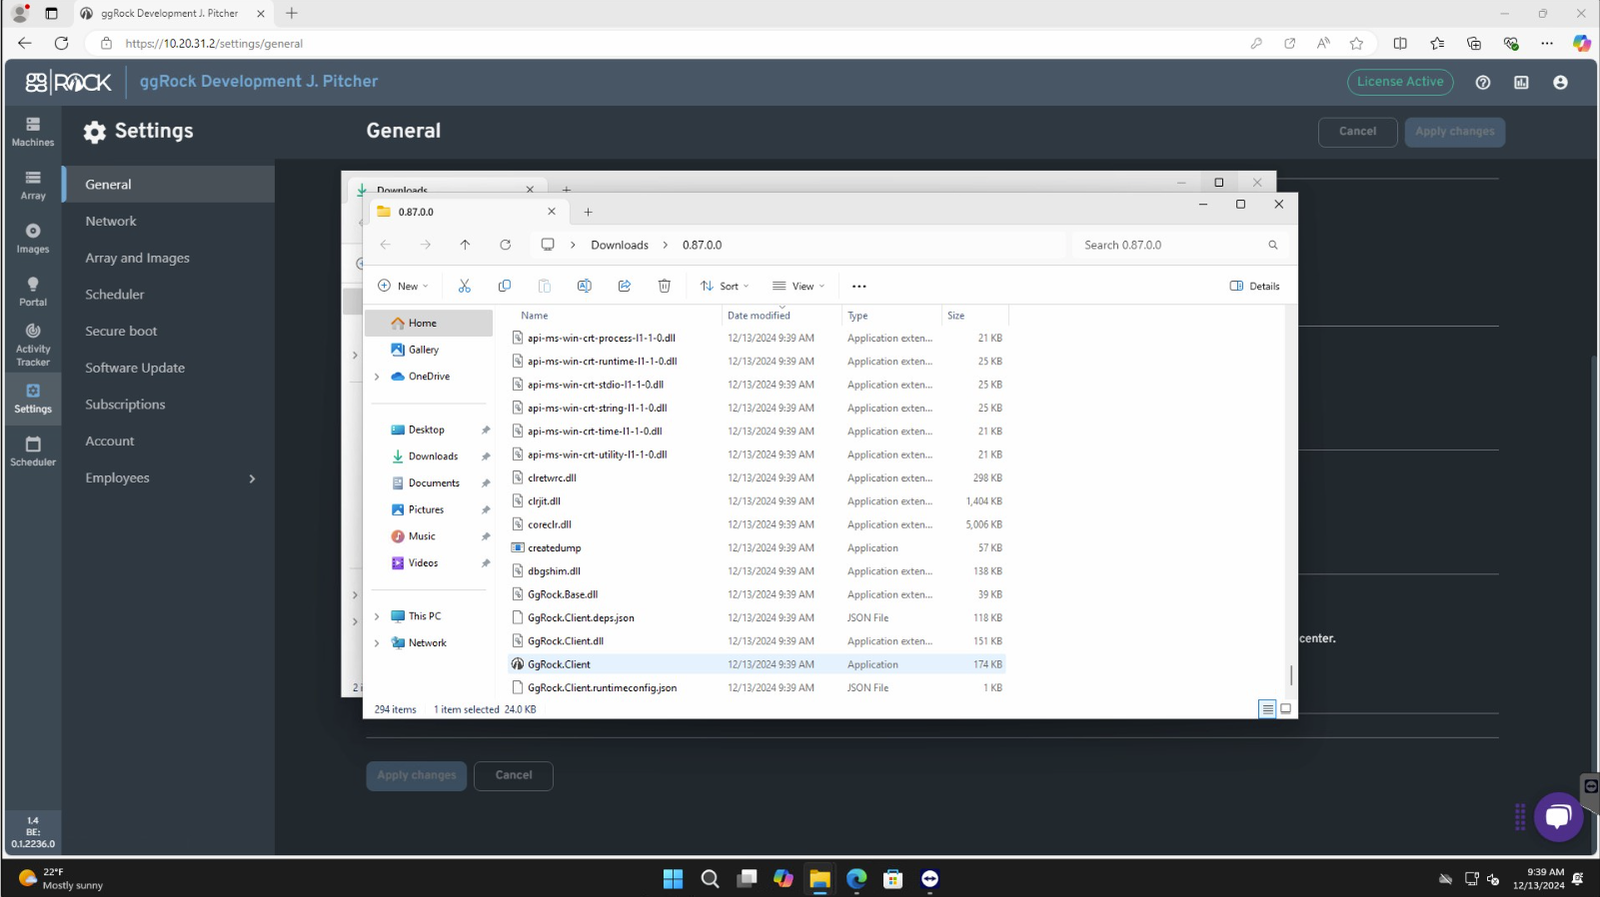
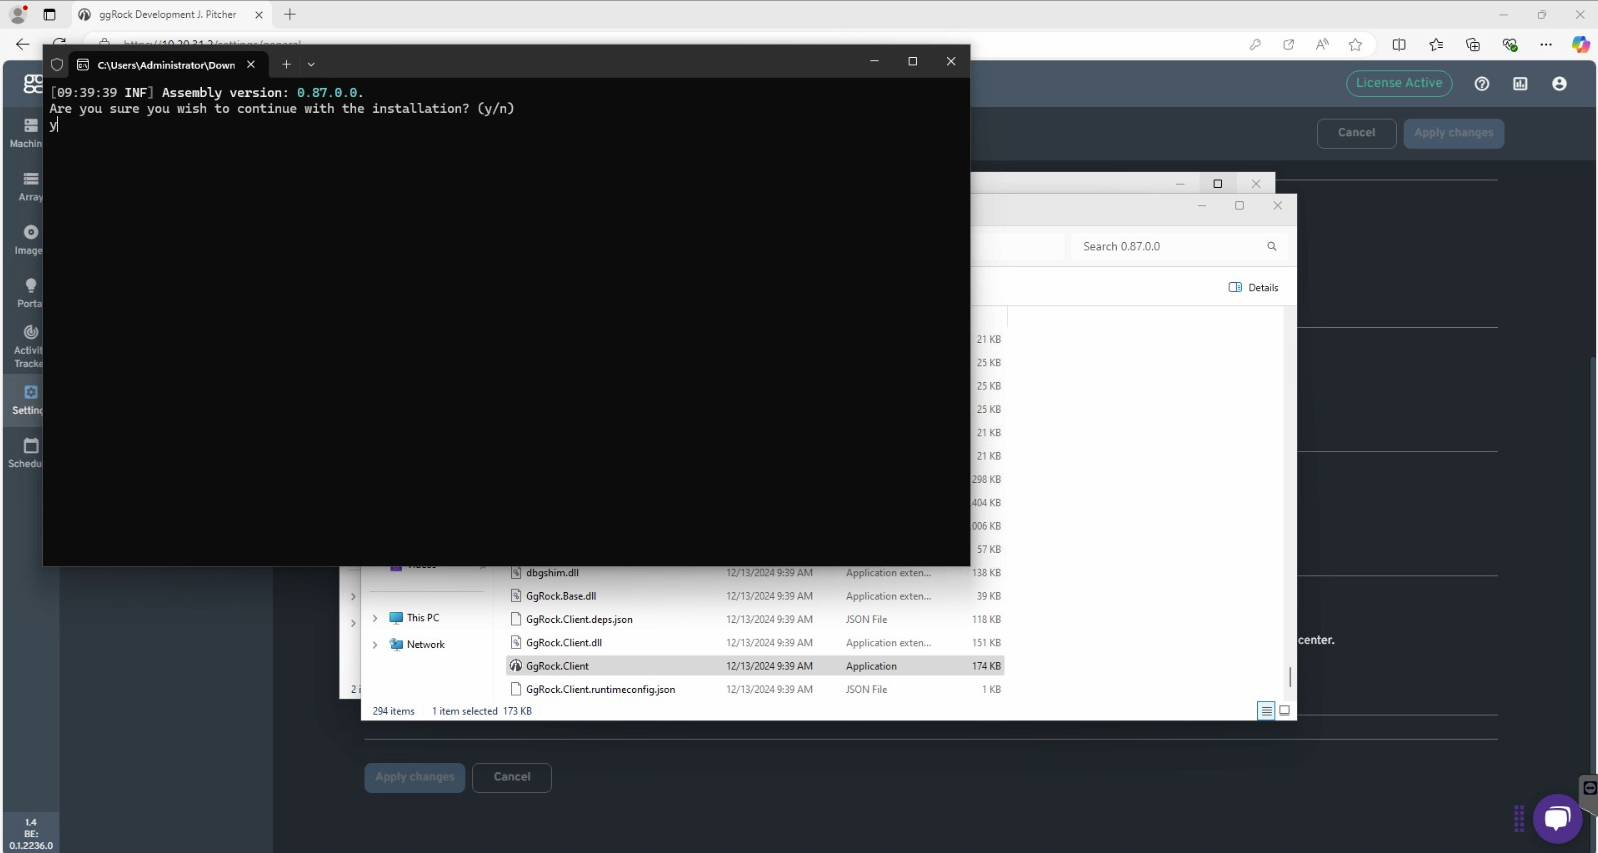
9. Initiate ggRock Client Installation
Type 'y' and press <ENTER> to initiate installation of the client.
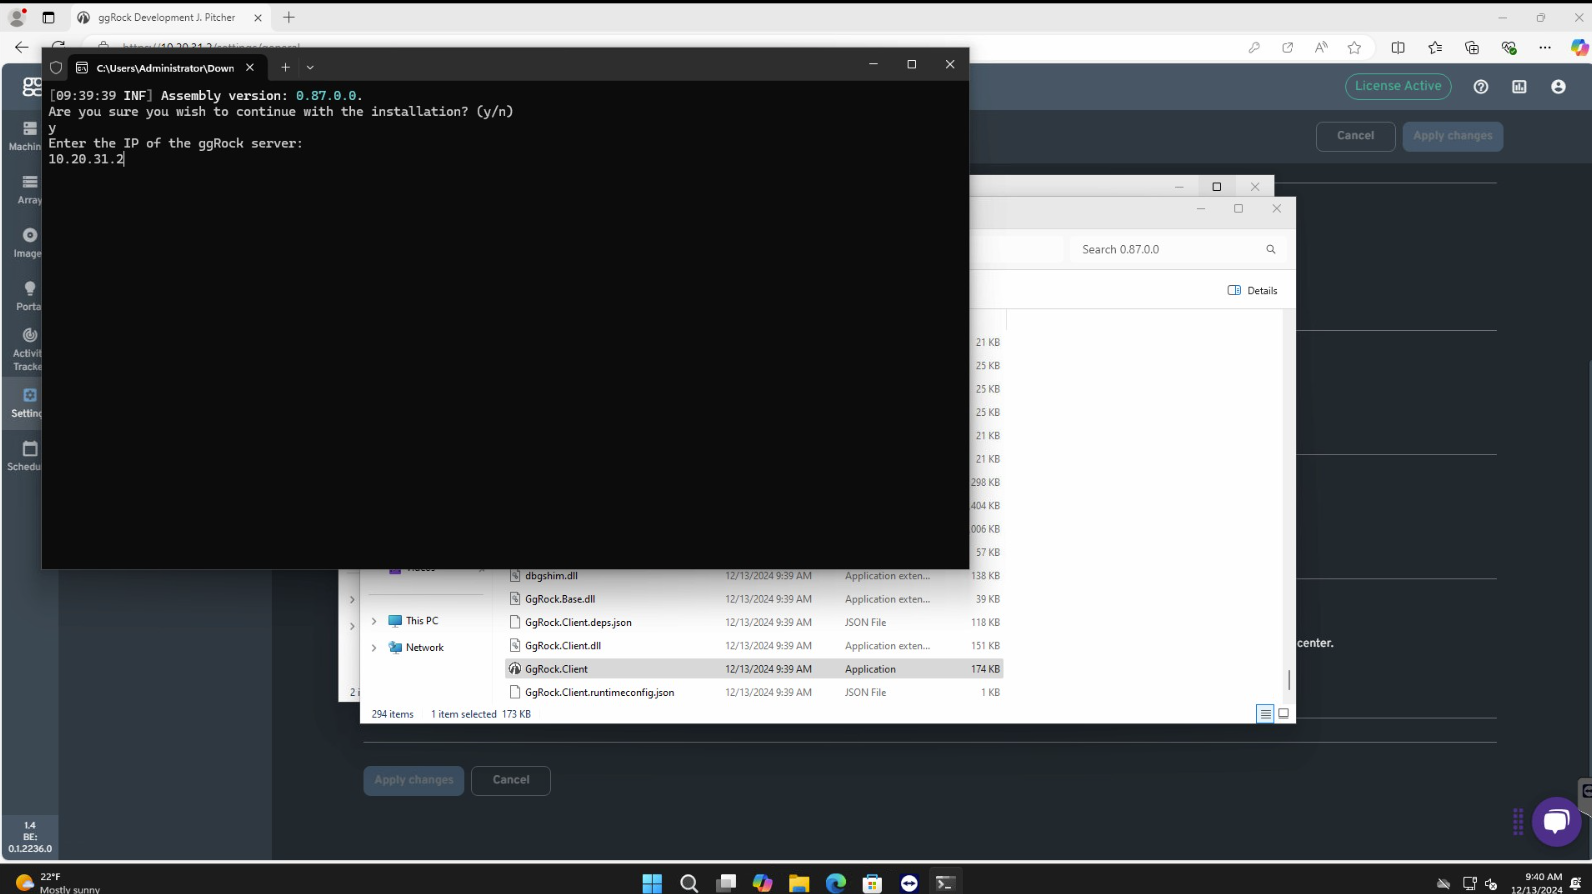
10.Enter your ggRock Server IP
Type the IP address of your ggRock server when prompted, then press <ENTER>
11. Confirm Successful Client Installation
12. Press <ENTER> to Close the Installer
Press <ENTER> to close the window.
13. (Optional) Delete the Client Installer